|
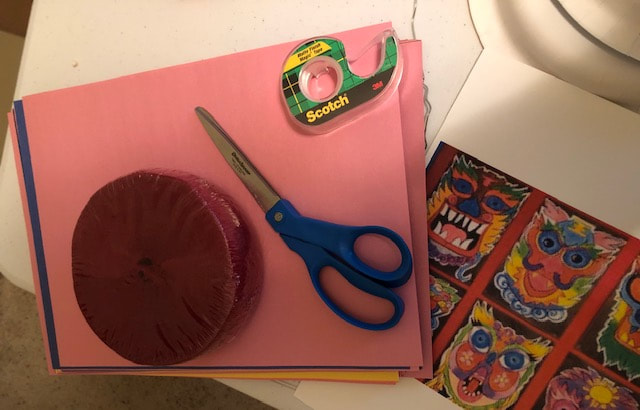
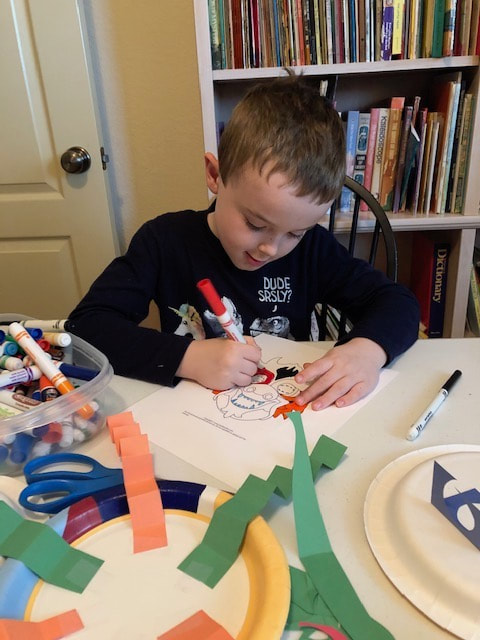
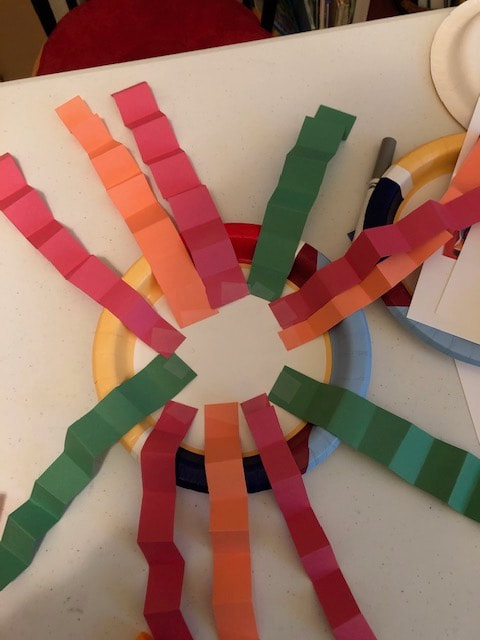
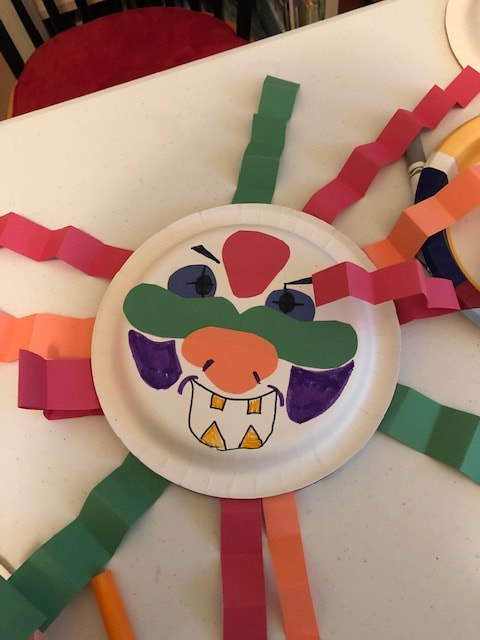
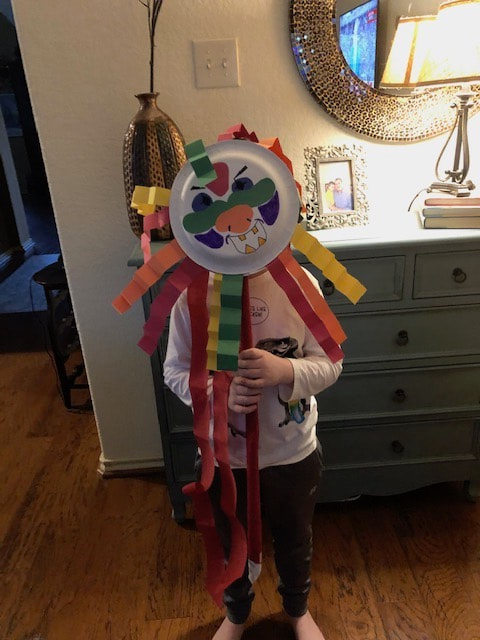
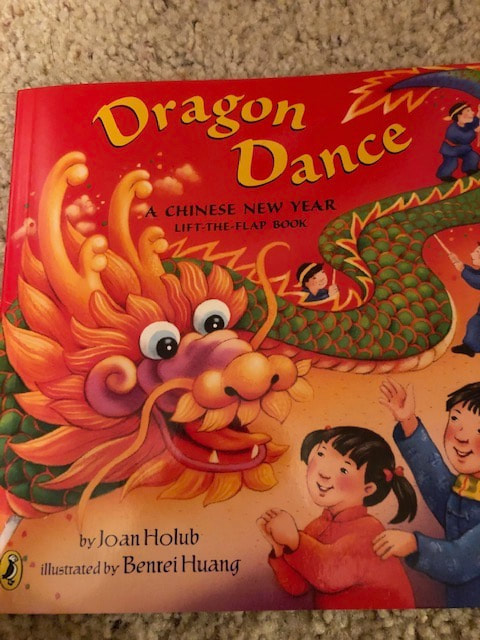
To learn about the Chinese New Year, do a craft with the kids, grandkids, and great-grandkids! And what could be more fun than a Chinese paper dragon! That's what we did. Really no instruction from me. It's so easy to get online and find instructions for Chinese paper dragon masks or instructions for the entire paper dragon that you so often see in the Chinese New Year parades. So get out your supplies that you might have around the house (especially for when your grandkids visit) or get yourself to the craft store. We got out crepe paper (for streamers), construction paper, crayons and markers, scissors and paper plates. We also printed up some masks for ideas on how to design our dragon mask. How about a parade? I consider that I have two sets of grandkids. I have one set that are now teens and preteens. My youngest is six years old, so now I'm doing a lot of the activities I did when my first set of grandkids were toddlers. When they were little, we did the entire dragon and went to the park to parade around under the cover of our paper dragon. That's fun too. So if you can get a group together, I recommended that. My youngest comes after school, so we just did a mask. He had fun with that too.
And that's it! As I always tell you, doing a craft with the young ones is always so rewarding. It's a great one-on-one time when you can really talk. And it's always important to share other cultures and traditions. Makes for a more well-rounded child. And because the Chinese New Year is in February, it helps alleviate the winter blues! It's just something fun to do with your kids. Here are some youtube videos you and your grandchild might want to watch together: www.youtube.com/watch?v=GVPHdFX9iHY
1 Comment
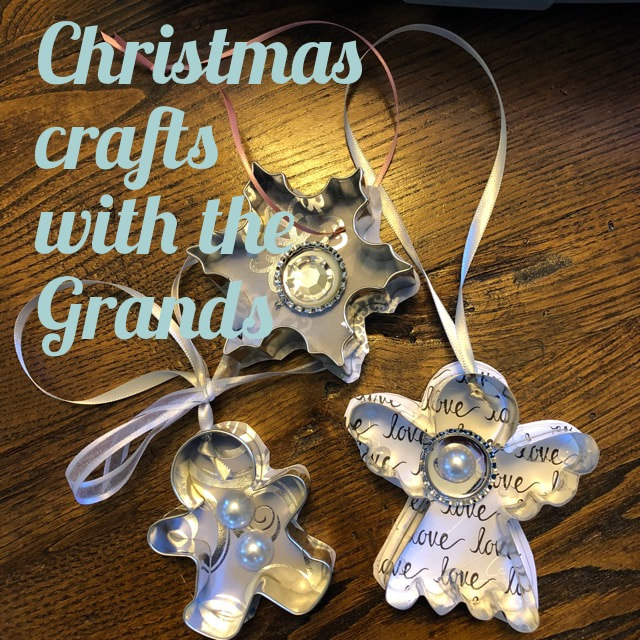
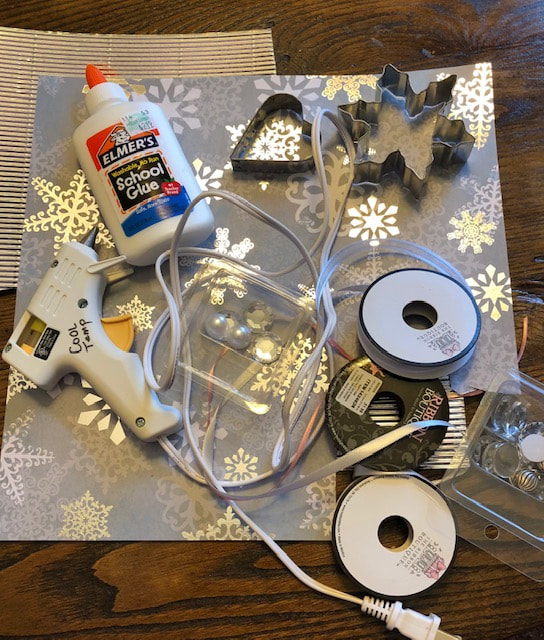
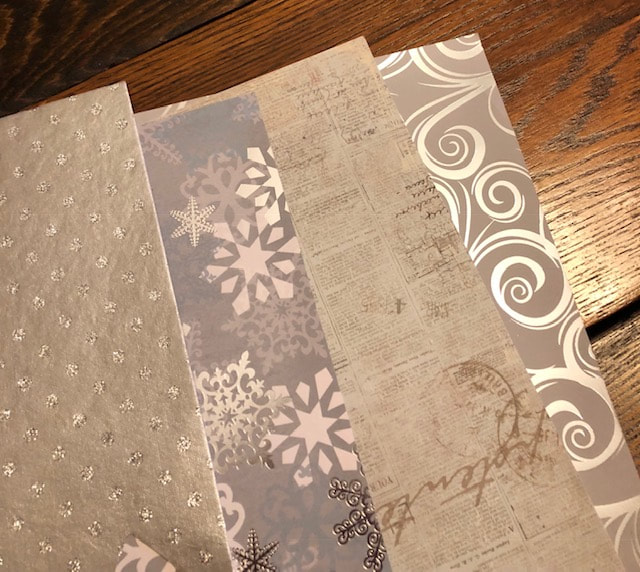
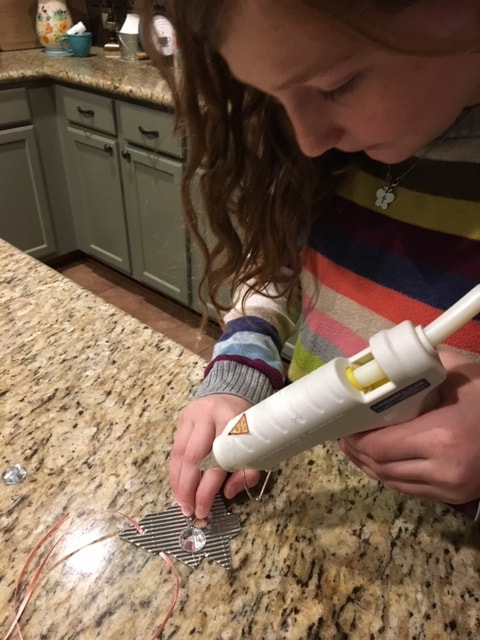
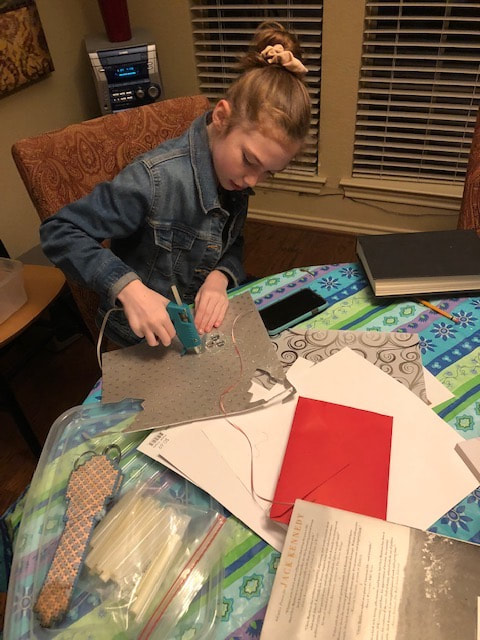
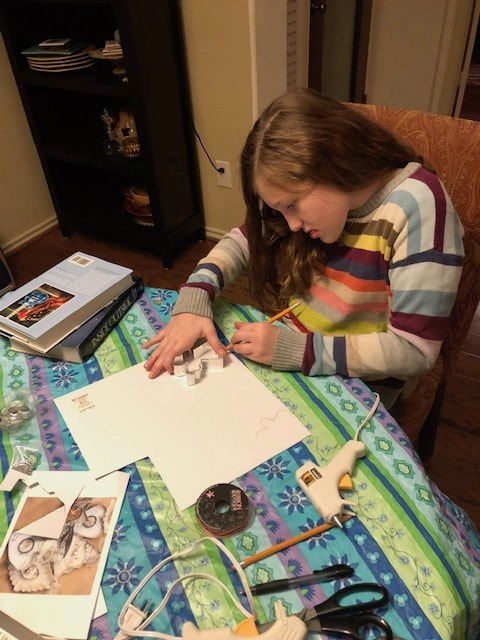
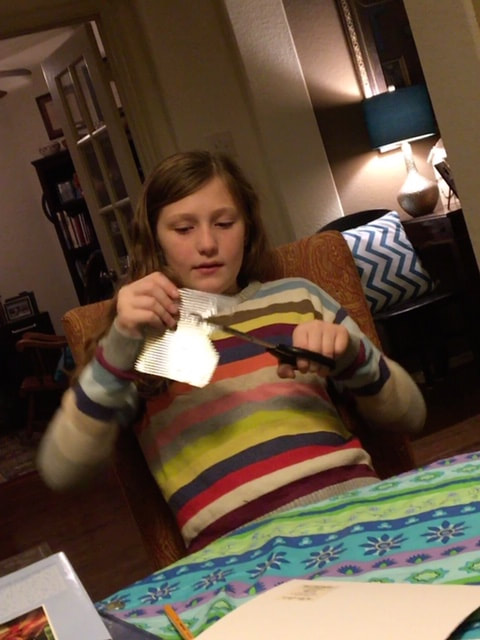
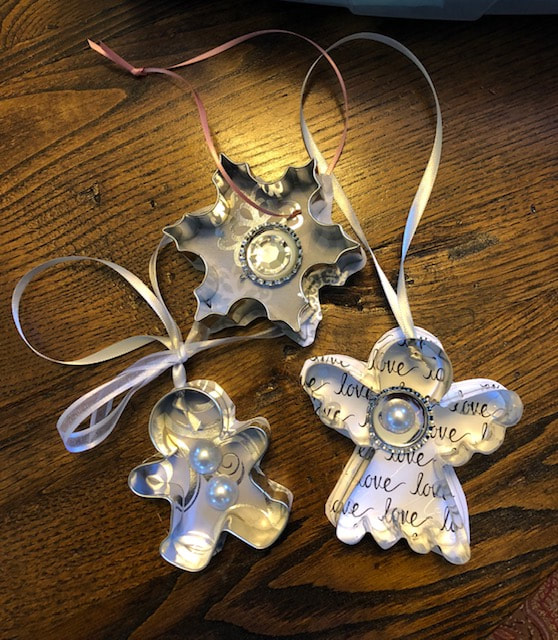
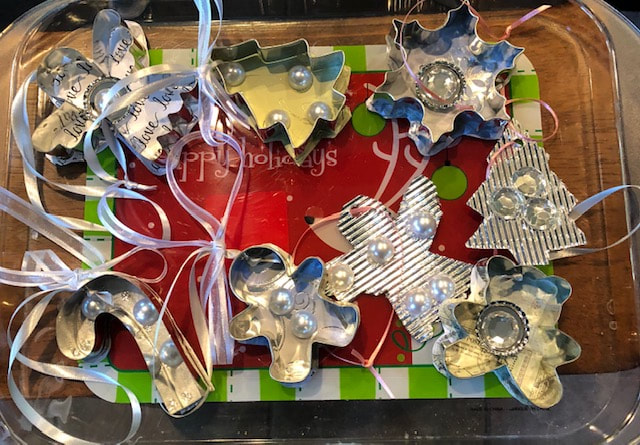
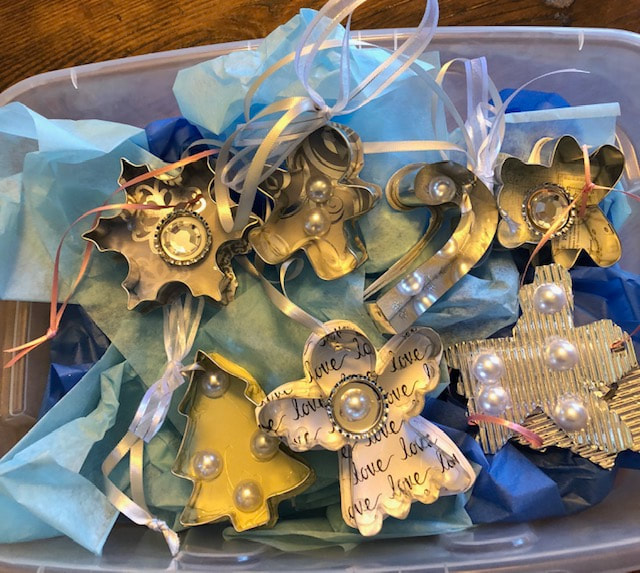
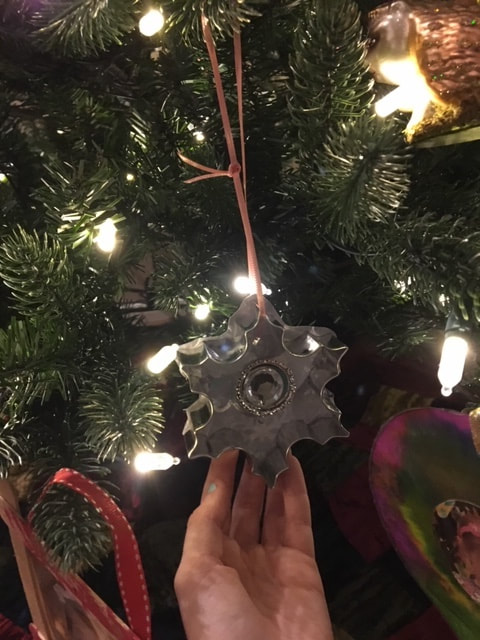
Christmas cookie cutters, ribbons, fake pearls and gemstones, pretty papers, silver bottle caps, sweet granddaughters and a heaping helping of love equals a great craft idea and a good deal of family fun! Get together with your grandchildren for a Christmas craft and a wonderful bonding time. What you'll need for the ornaments pictured above:
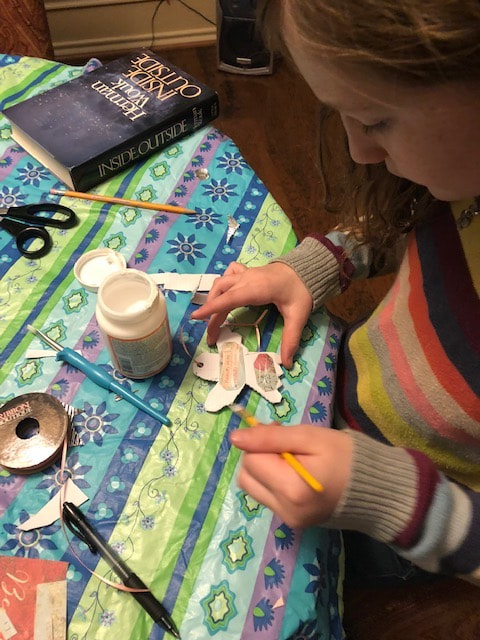
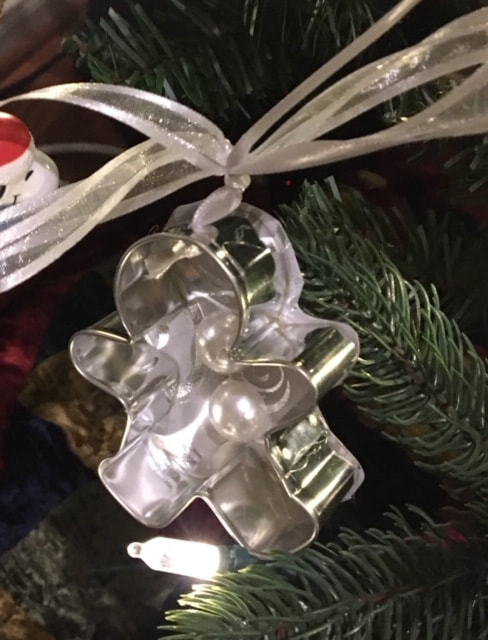
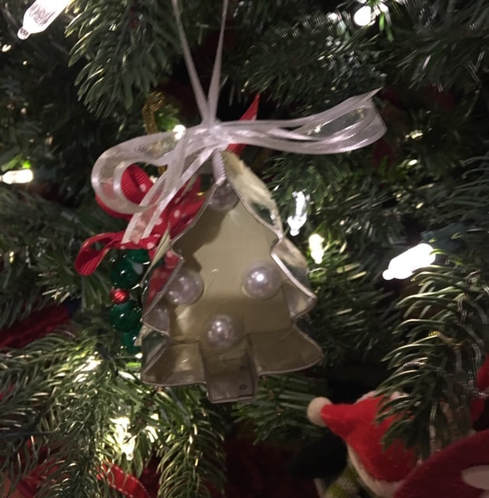
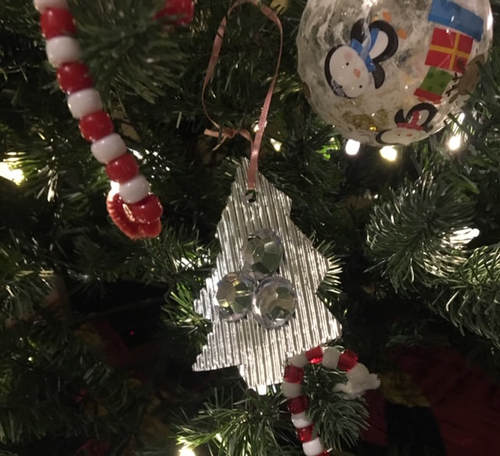
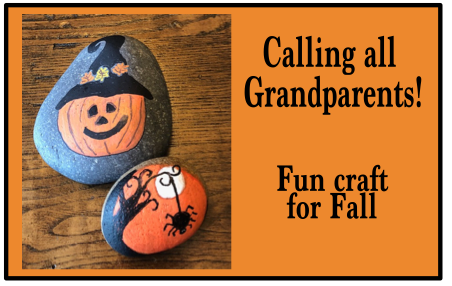
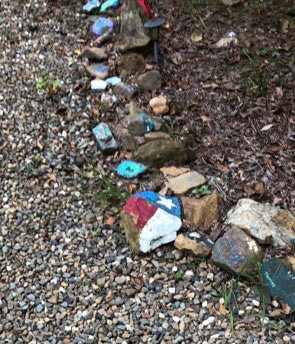
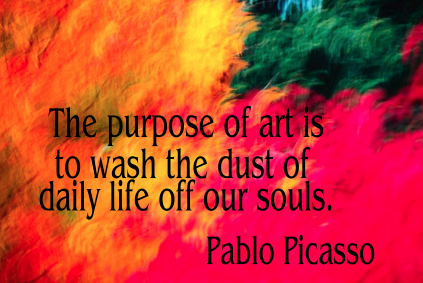
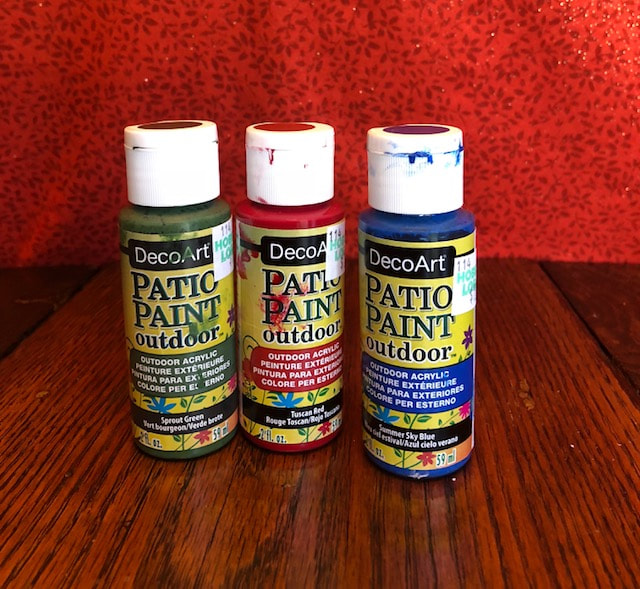
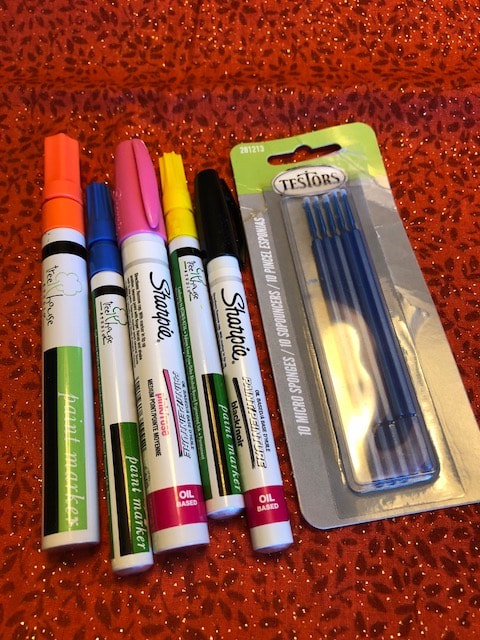
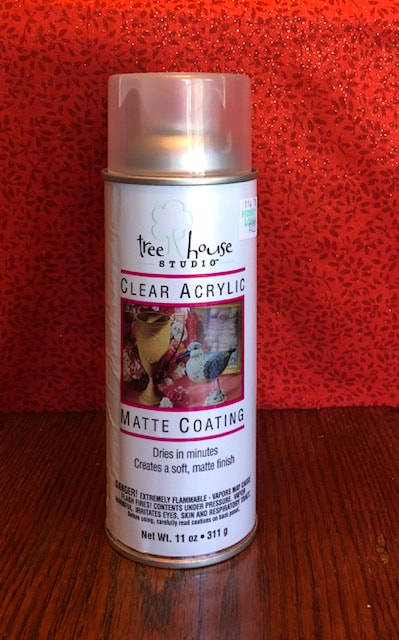
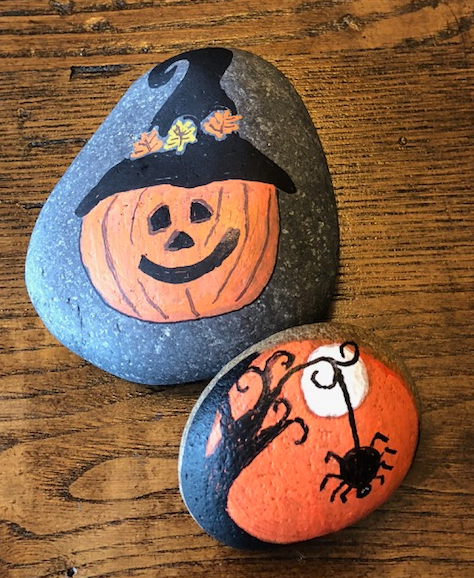
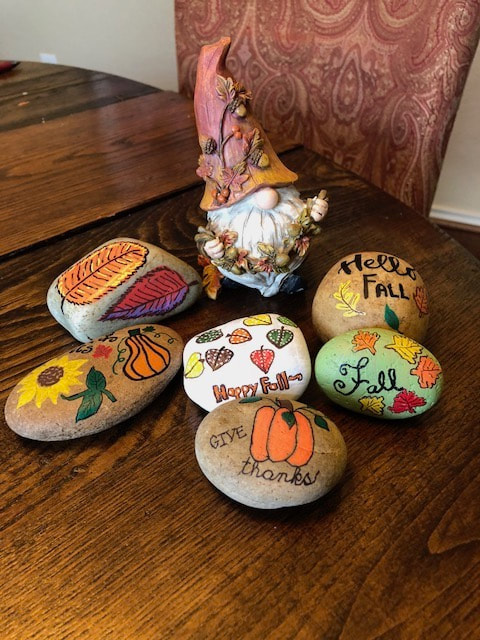
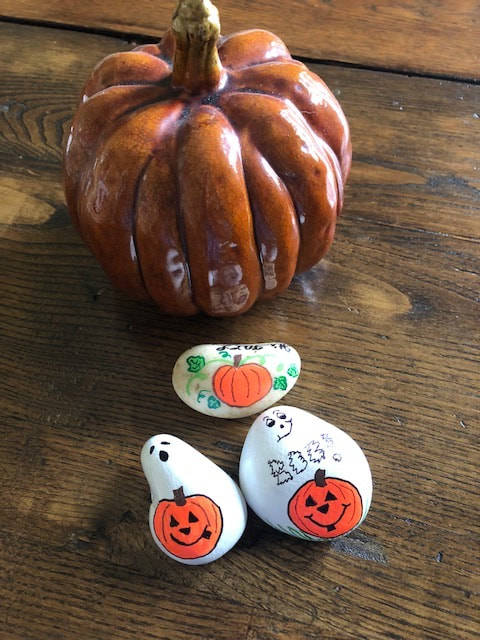
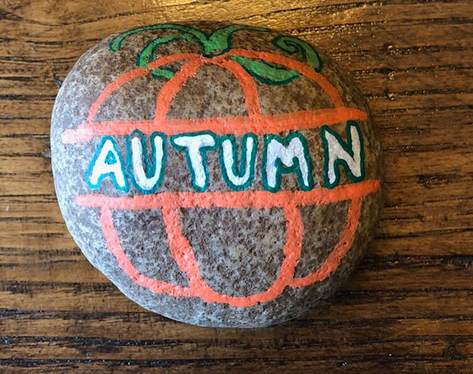
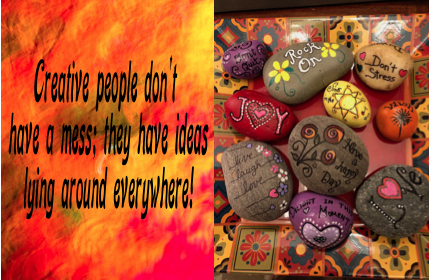
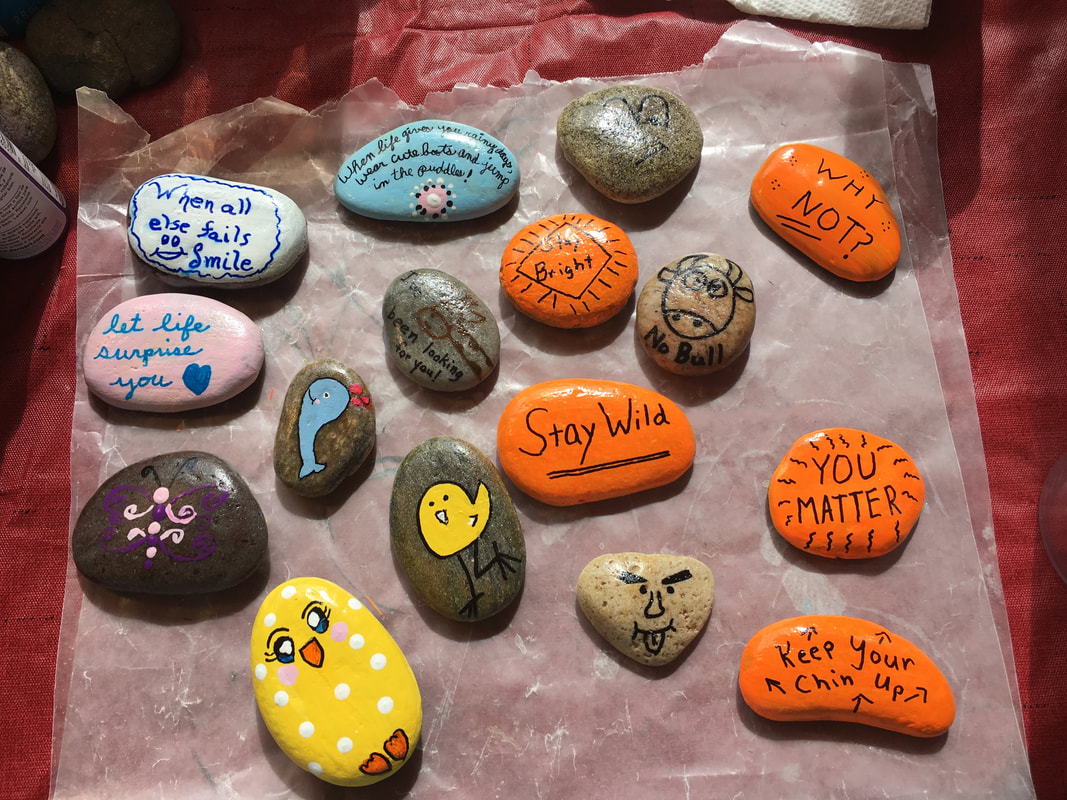
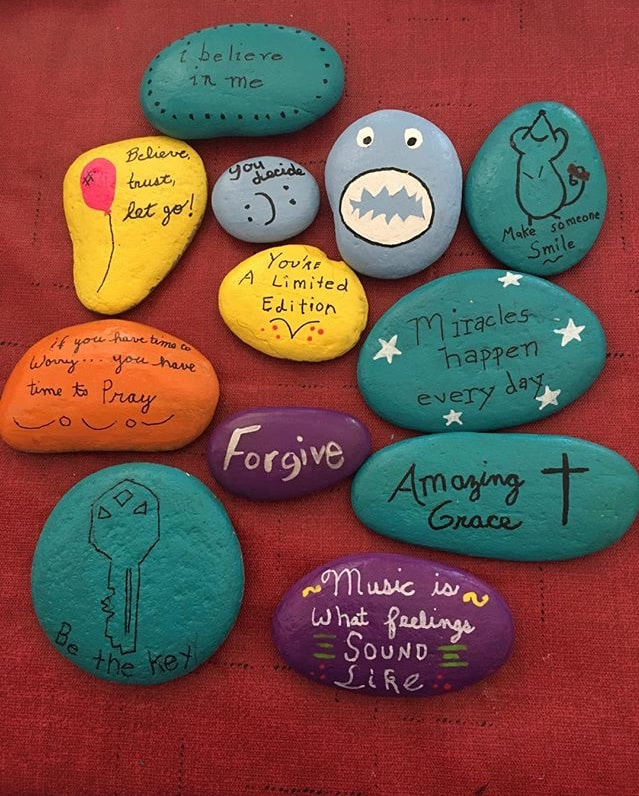
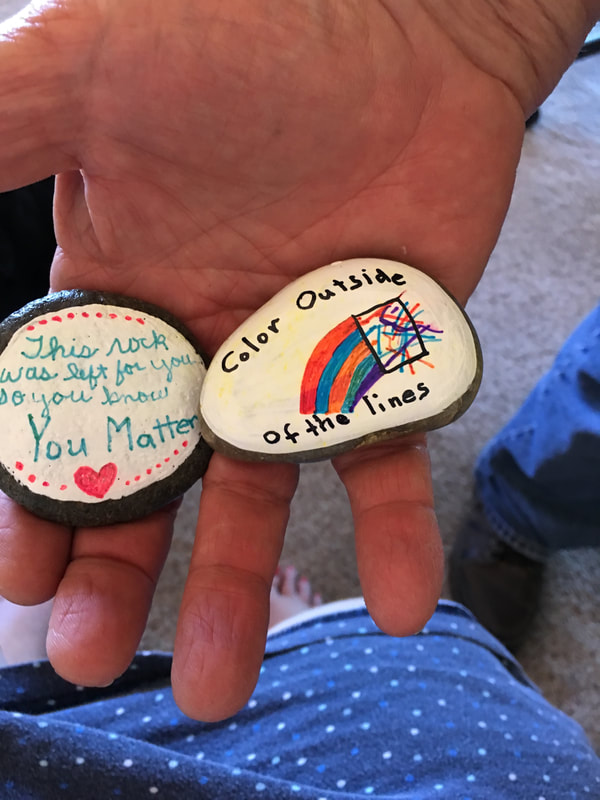
The procedure: I actually found this craft on Pinterest, but there were no step-by-step instructions. Hence, we just looked at the pictures and decided for ourselves how to do it. I know you can figure that out as well, but here goes. After I bought all the supplies, and gathered my granddaughters around the table, we proceeded. We traced the ornament on our chosen paper, and before we cut, we added a line around the tracing where we actually cut. The first tracing that exactly matched the ornament, we used for the glue line. We didn't care if the backing paper was a tiny bit bigger than the actual ornament--it still looked very good. On the foil paper, we used the white school glue. We tried that on the thinner papers, but it left the ornament too wet. That's when we went to the glue gun. My granddaughters, ages 10 and 12, did great with the glue gun, so there were no worries there. I guess all the ornaments could actually be done with the glue gun. We let them dry and harden, and then added the pretty baubles to add to the festive feel of a traditional Christmas ornament. Before the girls came over, my husband took the cookie cutters to his shop and cut the holes for the ribbon. After we glued in the gemstones, we tied ribbons and we were done. I asked the girls to add their names on the back along with the year. Hopefully the decorations might last for them to eventually put on their own tree! One more added note, some of the foil paper was really heavy, so one of my granddaughters just traced the cookie cutter shapes and cut it out to put on her mother's tree without the cookie cutter--those turned out good as well. Delivering the ornaments to their parents! We put the ornaments in a box stuffed with blue tissue paper and delivered to their parents. Alas, their mother wasn't home, but my sweet Emma filmed the presentation for me when her mother got home. I have the best grandkids! Hanging on the family Christmas tree~ Until I got over to their house to see for myself, my granddaughter sent me pictures of their finished creations hanging on their tree. Final thoughts~ I think the ornaments are super easy to make. And they're pretty classy looking what with all the silver and rhinestone decorations. My granddaughters just looked at the sample pictures and ran with it. As I said, I hope the ornaments last until they have a tree of their own. Who knows? I love the bonding time that working on a craft creates for me and my granddaughters. For some reason, time spent crafting or cooking together just makes for some sweet conversations. I know many of you have made Christmas decorations with your grandkids starting when they were small. And what grandparent (and parent) doesn't have their children's homemade ornaments that they place lovingly on their tree year after year. Please share any ideas or times you've spent Christmas-crafting with your grands. And if you decide to try this one, please share photos of that too. Here's another craft with the grandkids that I blogged about last year. It's a good one too, and one I got from a friend: www.gigisseasonings.com/blog/grandmothers-button-box Happy Christmas season from Gigi of Gigi's Seasonings! Looking for something to do as the days get shorter? I would like to appeal to you again to try painting kindness rocks. Besides planting it on your daily walk, leaving it for someone to find, and therefore bringing a smile to someone's day--it's a great craft and diversion for YOU! I've written about kindness rocks before. I even had a guest blogger write about her experience. I have to say I'm really taken with the whole "kindness rocks" experience. It really has come home to me again. I've been on a vacation to New Mexico. Wonder of wonders, when my husband and I visited the Taos pueblo, we were invited into a pueblo inhabitant's home. I was delighted to see some kindness rocks on a table in his house. Kindness rocks are everywhere. My son and daughter-in-law and grandkids are off to a cabin in Oklahoma for a Columbus Day respite. Imagine my surprise when my daughter-in-law sent me pictures of kindness rocks that surround their cabin. Lisa explained that there was a note from the owners in the cabin that said their kindness rocks tell a story about their family. And they provided paints and supplies for their guests to paint a rock and add it to their kindness rock garden. I love that! Such a nice escape from the tribulations of this old world! I would encourage all my readers to give it a try! I like to collect quotations. This one caught my eye recently and it really is true: It's therapeutic! Honest! It transports you to another place. When you're painting on a small rock, you really aren't thinking about the recent news events or your own problems. It consumes all your attention and focus. I think I've made my point, so let's get started! I am in no way an artist. You might call me crafty, but certainly not an artist. I just google and search in Pinterest for ideas. You can even search online for all the "how-to's" on rock painting. I'll share what I do, but some rock painters have even more steps and techniques, so look on Pinterest for even more suggestions and ideas. I actually buy a bag of rocks from a home-improvement store. They have all sizes of river and beach rocks. I usually wash them, but I'm not even sure that that's necessary. I don't put a base coat, but I've read that some people do. I just start right in painting after they've dried. I buy acrylic paint for outdoors. I also buy paint pens. I've included pictures of all my supplies. I copy, copy, copy. None of these ideas are my own. I mostly copy what others have shared. When I'm finished and the paint has dried, I spray with an acrylic spray and let that dry. Then I'm ready to pass them out throughout my neighborhood! I think it's really that easy. It's fall, y'all and a great time to hide some KINDNESS ROCKS with an autumn theme. Most of my rocks previously have included some kind of inspiration for the finder. But how fun to wish all my friends and neighbors a merry fall, happy Halloween or good thoughts for Thanksgiving! I've already started. Final thoughts~ I recently saw an online article about the advantages of adult coloring books, and I think some of the points made in that article apply to painting kindness rocks as well. Besides the points I've already made, think about these:
Give it a try! Hiding rocks with an autumn holiday theme is just guaranteed to bring a smile to young kids and old folks alike. Spread some good cheer around your neighborhood or town. It's just plain fun! And please send any photos of rocks! I'm always looking for new ideas. My other blog posts about kindness rocks: www.gigisseasonings.com/blog/kindness-rocks-project-with-the-grandkids And the online article about adult coloring books:
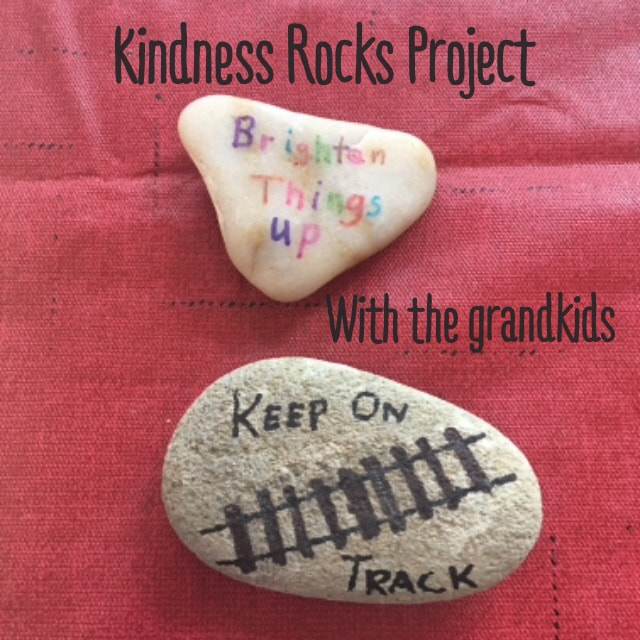
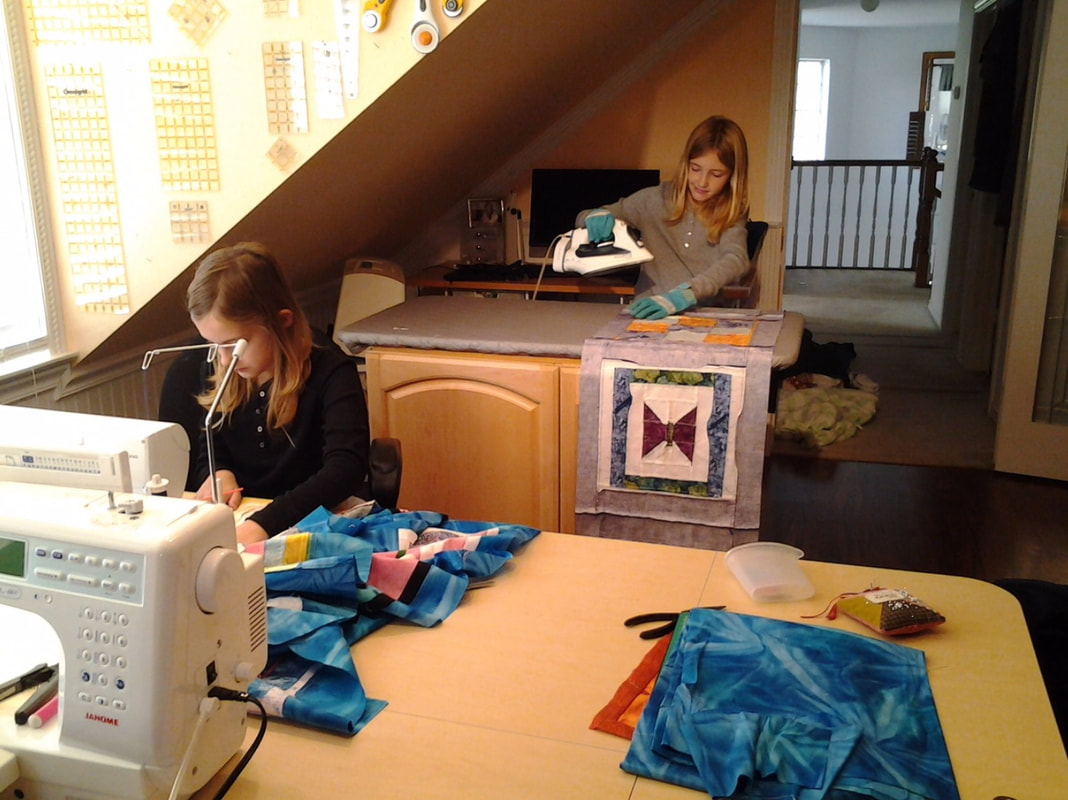
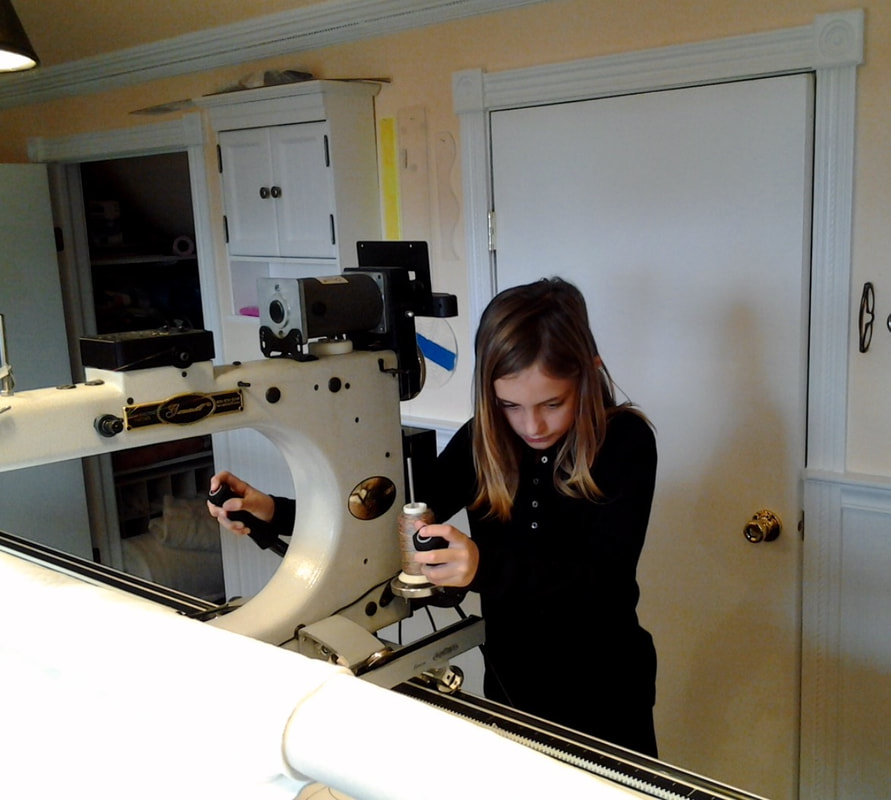
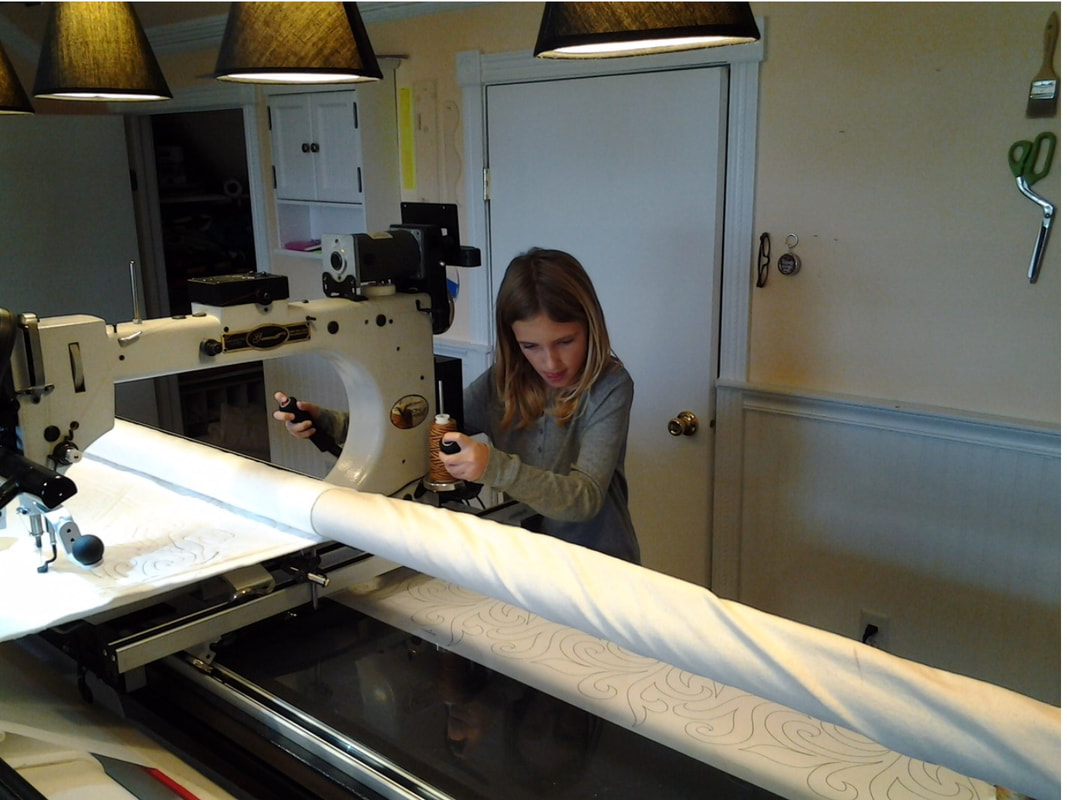
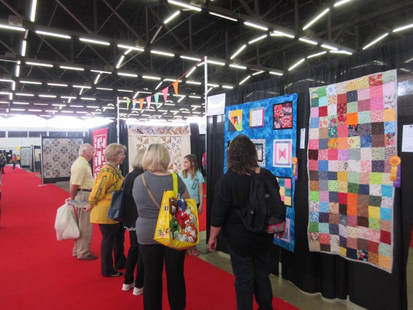
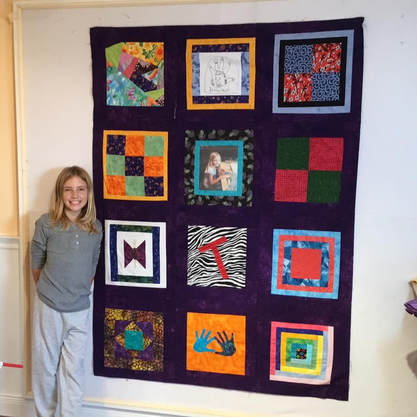
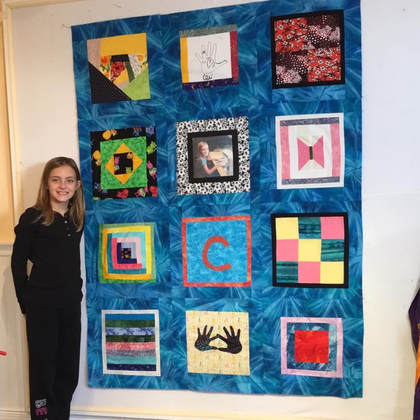
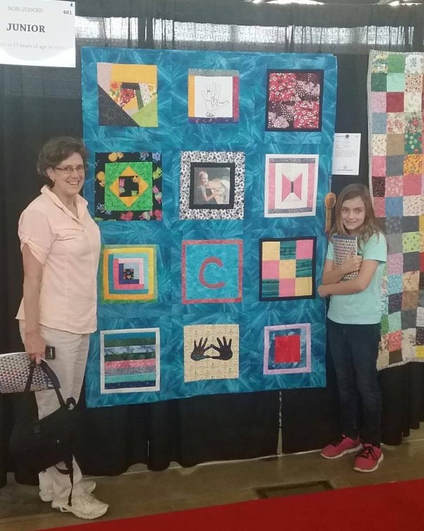
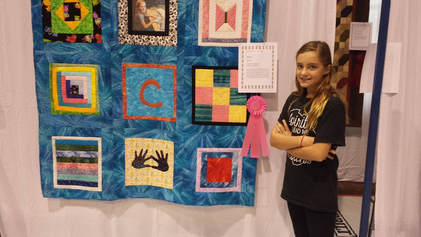
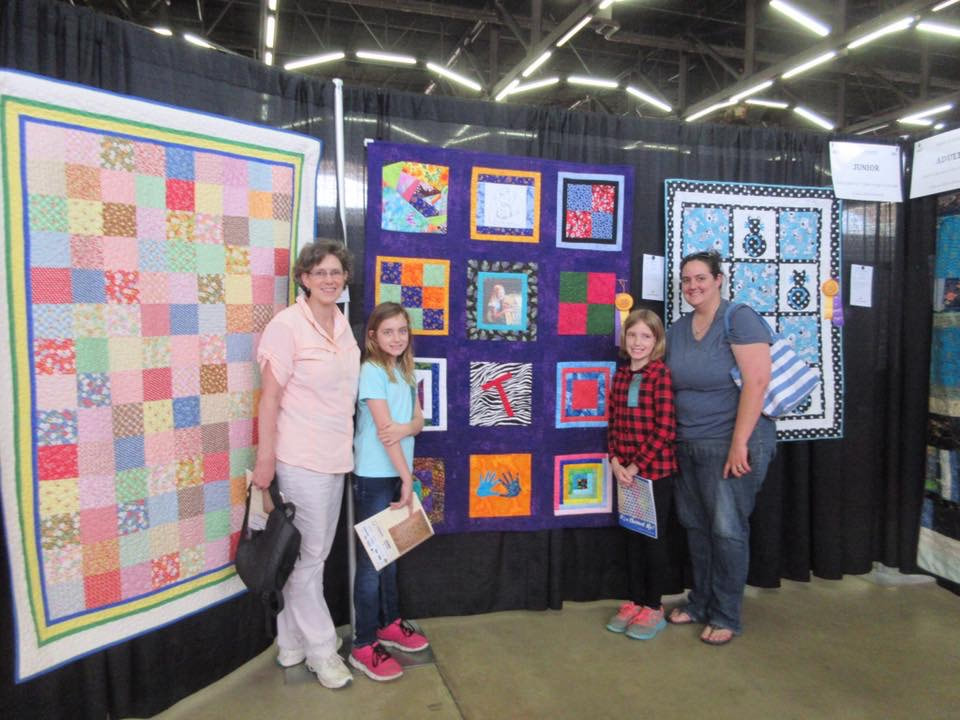
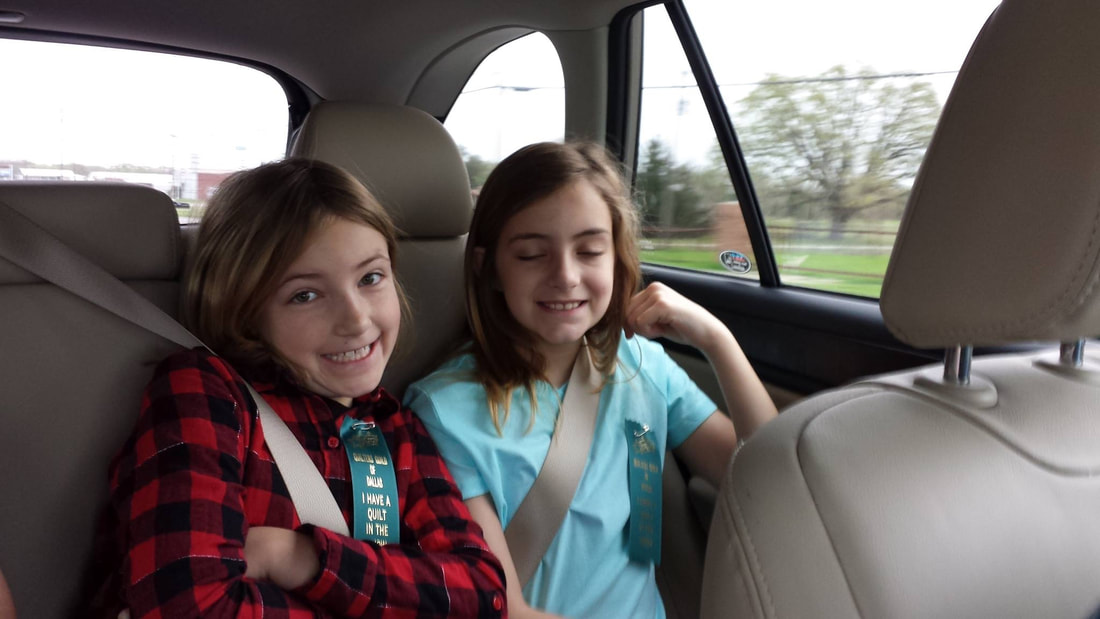
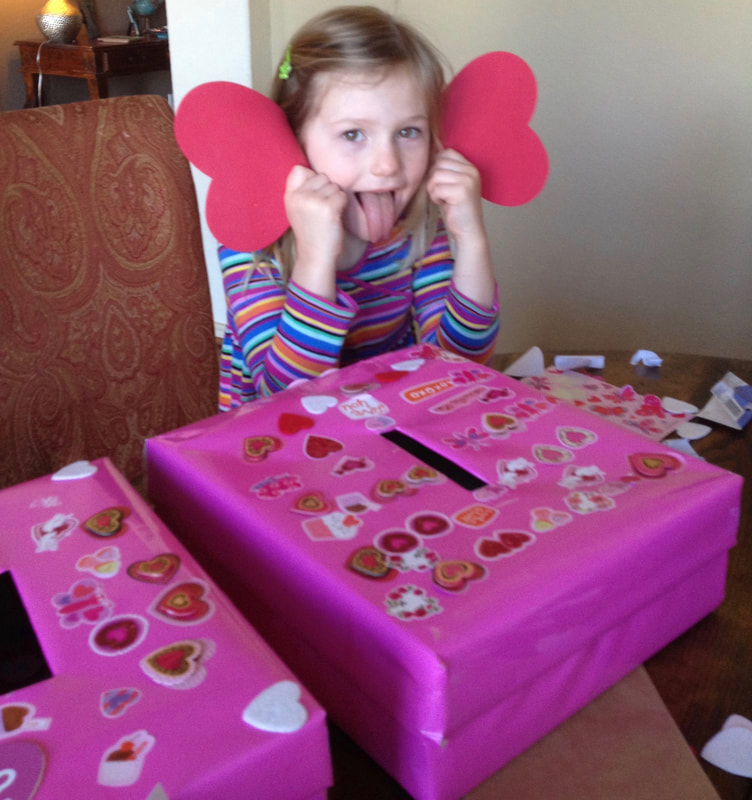
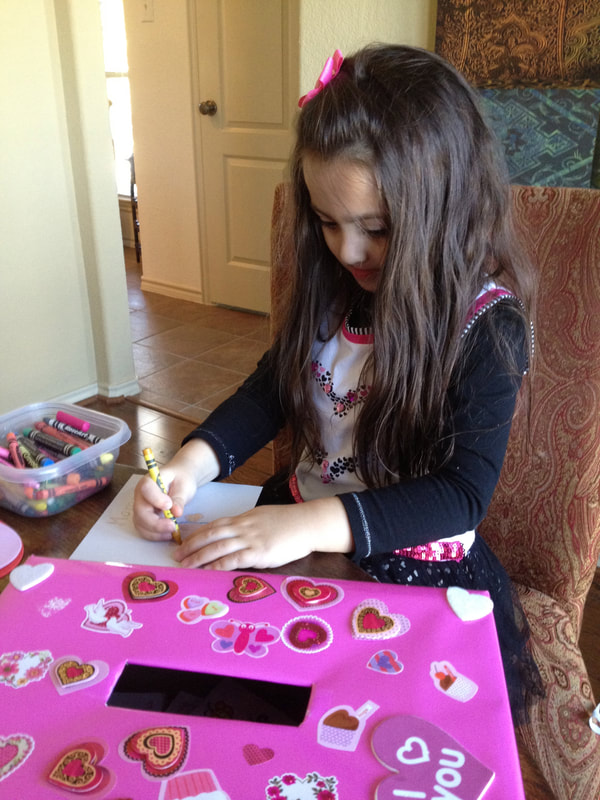
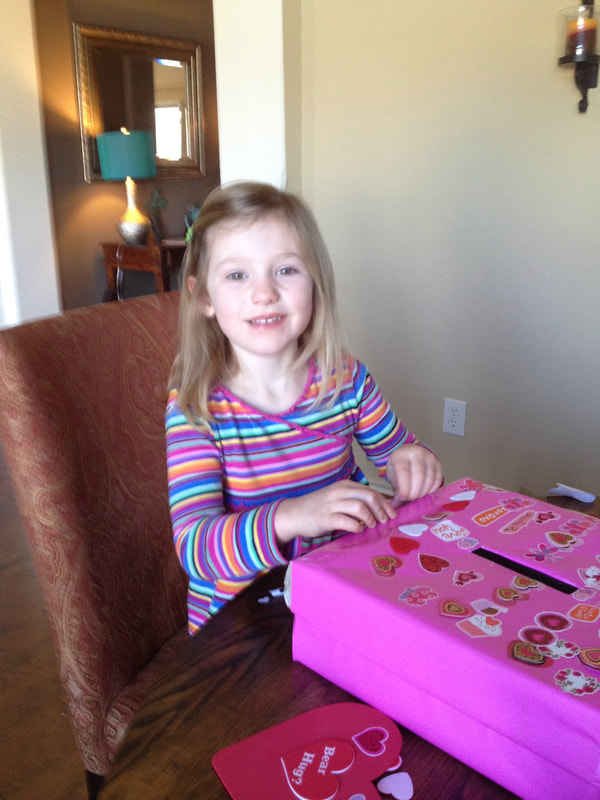
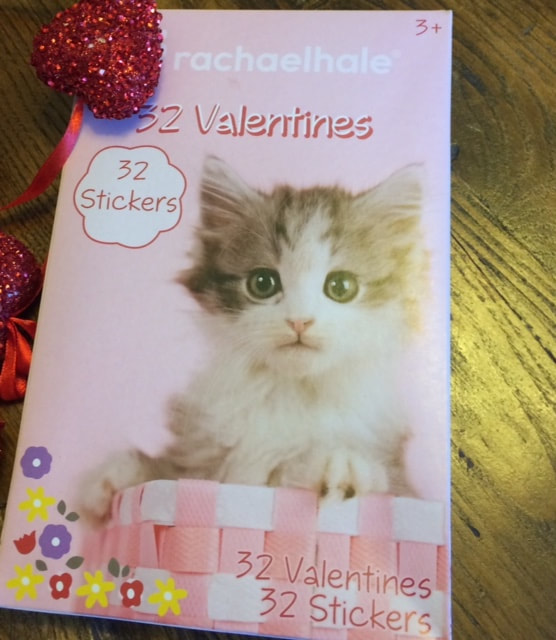
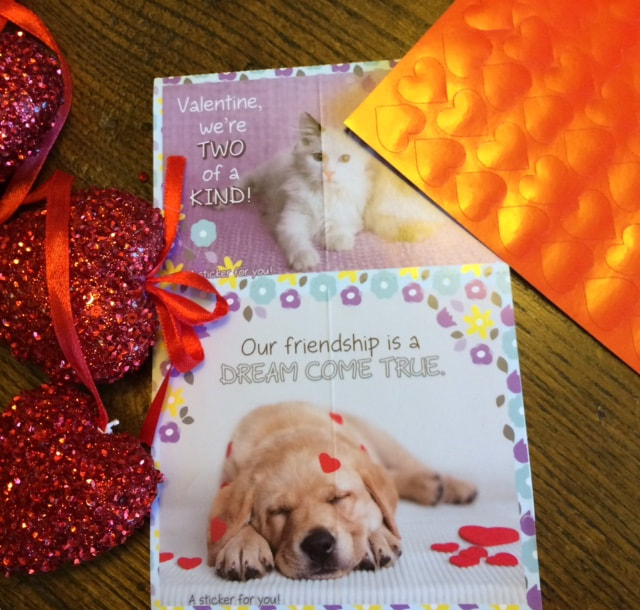
www.higherperspectives.com/adult-coloring-1484031876.html Painting rocks with the grands to spread good cheer and encouragement. What a great craft idea! I get so many great ideas from my readers. I got this one from my good friend Tricia in Albuquerque. She knows I'm always looking for craft ideas to do with my grands, and she suggested this one. I think it's a great one. If you're like me, I wanted to know exactly what this was. So I googled it (of course!), and this is what I found: The Kindness Rocks Project was created to spread inspiration and a moment of kindness for unsuspecting recipients through random inspirational rocks dropped along the way.The Kindness Rocks Project encourages people to create inspirational rocks and leave them for others to find. It's the idea behind The Kindness Rocks Project, a pay-it-forward service project created by life coach Megan Murphy in hopes of sparking joy in people's everyday lives. Anyone can participate. I'll let Tricia tell the rest of her story: "My first encounter with a painted rock was in Big Bear, California, when we took our newly purchased motor home to our local national forest campground for a trial run. After setting up our RV, I stepped down on the ground, and next to the step was a rock with smiling eyes. It was so unexpected, and my husband and I laughed so hard when we saw it. We took it with us when we broke camp. It stayed in the RV for several trips. Over a year later we moved from California to New Mexico, and went camping with our visiting daughter, our niece and her three children in the Pecos National Park in New Mexico. The kids saw the rock and wanted to know the story, so we told them how we found it. They also loved it so we decided to leave the rock for the next campers. I have a dear friend who is an artist and a grandmother. She started painting rocks. She and her adorable four-year-old granddaughter (who usually is always dressed in a tutu) would take walks and hide the rocks. Then she would post pictures of their walks on Facebook. I loved the precious pictures of her grandchild in her tutu dropping her happiness rocks hither and yon. I was reminded of our camping rock, so I googled rock painting and found #kindnessrock project. It described doing it just as we did with the camping rock! Hide painted rocks to make someone smile, keep it or hide it for someone else to find and enjoy. The Instagram post also said to post online when you found one. Next I went on Pinterest to get ideas. Of course, I will never live long enough to paint all that I posted to my Pinterest account! I have now painted many rocks and enjoy being creative. My husband and I take them everywhere we go. It’s fun leaving them on ledges, top of trash cans and even on ground and curbs at restaurants, stores, etc. We gave some to our great nieces to hide in the park. We plan to take some with us when we go to California next month. This summer I’m planning a rock painting party for the kids. To paint rocks it’s best to get lighter colored, non-porous as possible, smooth rocks. Wash rock with soap and water and let dry. Acrylic paint is best. After painting the rocks, let dry completely and then spray or brush with a clear sealant or even Mod Podge matte-mat. Rocks dry pretty fast. If painting a rock a solid color, let it dry completely. Then you can write or paint over it. Permanent markers also work well on rocks that have been painted first and are great for lettering or finer lines! Last words from Tricia: "It is really fun to do and as with any craft, it gets those creative juices flowing. There is a calmness that comes over you when you're painting. Lastly it gives you a sense of accomplishment." Final words from Gigi: Doesn't this sound like a GREAT idea? I love it. I plan to do it with my grands as well in a couple of months when they are out for summer. And Tricia and I share it with YOU! Thanks so much to my friend and fellow high school classmate, Tricia! Our team was the Rebels, and we consider ourselves, "Rebel girls with a cause!" Join us! 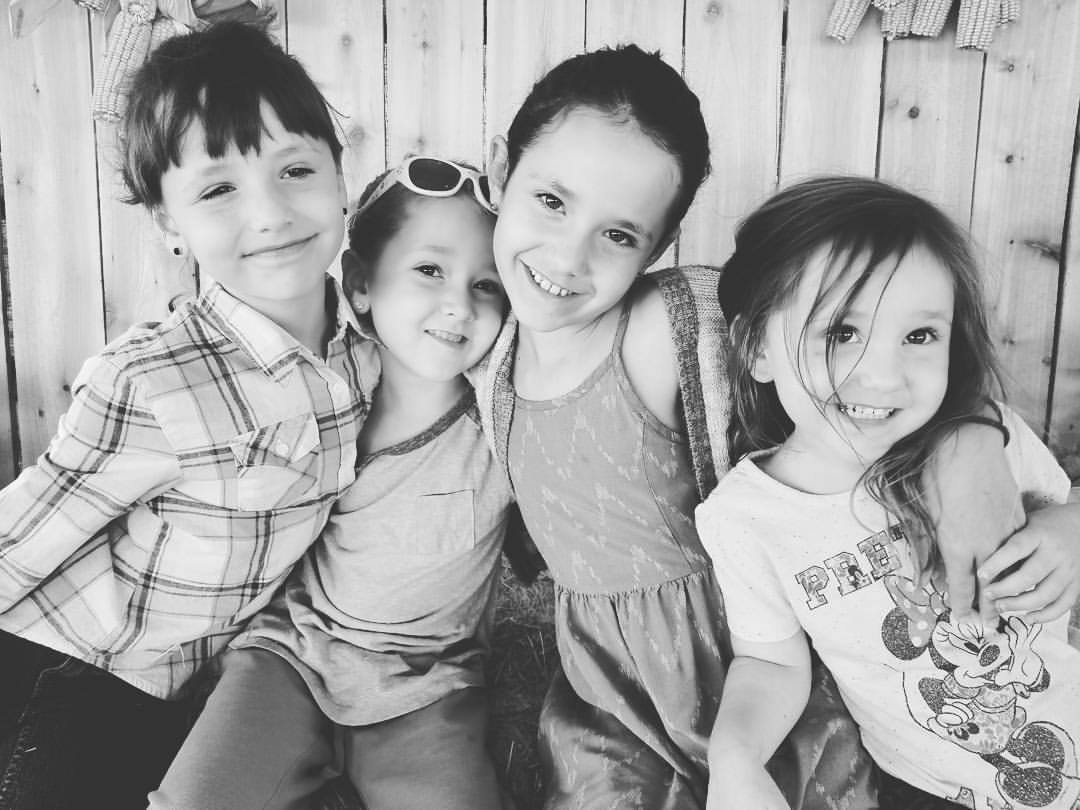 Tricia's precious nieces and "spreaders" of kindness rocks. Tricia's precious nieces and "spreaders" of kindness rocks. You can do a search for Kindness Rock Project on Facebook and Instagram. And here's a website: www.scarymommy.com/the-kindness-rocks-project/ Have you shared your beloved hobby with your grandchildren? I have to some extent...such as it is. I do a dab of writing and I like to scrapbook. But my niece Lisa shares a hobby with her granddaughters that I am so in awe--Lisa quilts and she's passed down the skill to her granddaughters. How wonderful! Here, I'll let her tell you in her own words: From Lisa~ It began with a promise to help their Girl Scout troop get sewing badges. Once they had a taste, every visit became...."Memo, can we sew?" True quilters are "fabriholics." The first time I took the girls to my fabric closet, they said in unison, "Ooooohhhh, FAB-RIC". It was then that I knew they were quilters at heart. Any day spent quilting is a good day! One yard of fabric, like one cookie, is never enough. My girls would come to spend the weekend. Their short attention span meant I could only get one or two seams out of them before they would run off to see what Poppa was doing. I definitely didn't want to force them to stay and sew, but I did encourage them to finish each block before moving on to something else. While they learned to quilt, I used the sewing as an opportunity to teach them about other terms as I showed them my quilting rulers. I explained about triangles, angles, and squares that made up each block. I let them choose their own fabrics to express their own personalities. In time, I even let them pick which block they wanted to make. I admit I got frustrated with them a time or two and pressured them to stay and finish a block rather than running off to play with Poppa. I also admit I might have been critical of their sewing, or fussed when they didn't listen to me. I tried to remember that it really didn't matter how it looked. if it was really bad, I could fix it for them. Or--even leave it, so that they could look back at it later in life and see their own first mistakes. I looked for the middle ground--instill in them a desire to do quality work, but not be so hard on them that they would begin to hate sewing. I also learned that it was less frustrating to split them up and work with them one-on-one. One would spend time with Poppa while the other sewed, and then switch out. At the beginning, I had to prepare everything in advance, so they wouldn't have to wait while I cut and ironed fabrics. If things weren't ready, I knew I would lose their attention. Later, they were capable of doing much for themselves. Eventually, they ironed for themselves, and yes...from time, to time, someone got burned. And so it went, one block at a time, we constructed the quilt and the memories. At the end of each weekend, they would hang their blocks on the design wall, and take a picture to memorialize and share the event. When we finally had enough blocks, we put them on the design wall, locked down the layout and took a picture. One weekend I took the girls with me to an organized quilt retreat and with the help of my friends Gaye and Joyce, we cut sashing and handed it to the girls to sew together until the tops were finished. Attention spans were longer by then, and they actually stayed focused on the project long enough to finish. However, quilt retreats are notorious for all the soft drinks and candy for the taking. One of my granddaughters slipped away and found the dark chocolate and Dr. Pepper. I remember she tossed and turned that night for hours....finally flopping over and saying in frustration, "I could play all night." I laughed and told her it was the caffeine and sugar and she should probably stay away from those things in the evenings because she was obviously sensitive to them just like her Memo. Once the quilts were finished, we entered them in a quilt show, It was amazing how proud they were of their quilts, standing by them during the show to tell people about them. That was a fun day. Now that they have finished their first quilts, they don't seem anxious to start another. I won't push them. In time, they will come back and say, "Memo, can we sew?" To quilt is human, to finish divine. Blessed are the children of the piecemakers....for they shall inherit the quilts! Remember making Valentine mailboxes for school back in the day? We either had to decorate a shoebox at home or perhaps we decorated at school. Can't remember, but it was ever so much fun. I wanted to share that experience with my grandkids. I knew they would be doing that at school, but I thought it would be fun to have one for their house to send Valentines to their family. Easy enough. I just invited them over one afternoon for cookies and fruit drinks and an hour or so of creating a family mailbox. I covered the box in wrapping paper before they came. I wanted them to be able to take the lid off easily. I instructed them to place it in a central area along with some store-bought Valentine cards. They needed to tell their family that it was available and to just grab a card and write a note to a family member, and then place it in the box. At the end of the day, the grandchild would get the cards out of the box and deliver to the family members. So we decorated that afternoon and I sent them home with the box and some Valentine cards. We had fun! Craft time with the grands: It's always fun to get together with your grandkids, and really fun if you can take time for a craft. Believe it or not, besides being just plain fun, you are also~
Happy Valentine's Day, everyone! Such a great time to have some fun with your grandchildren and nieces and nephews. Just do it!
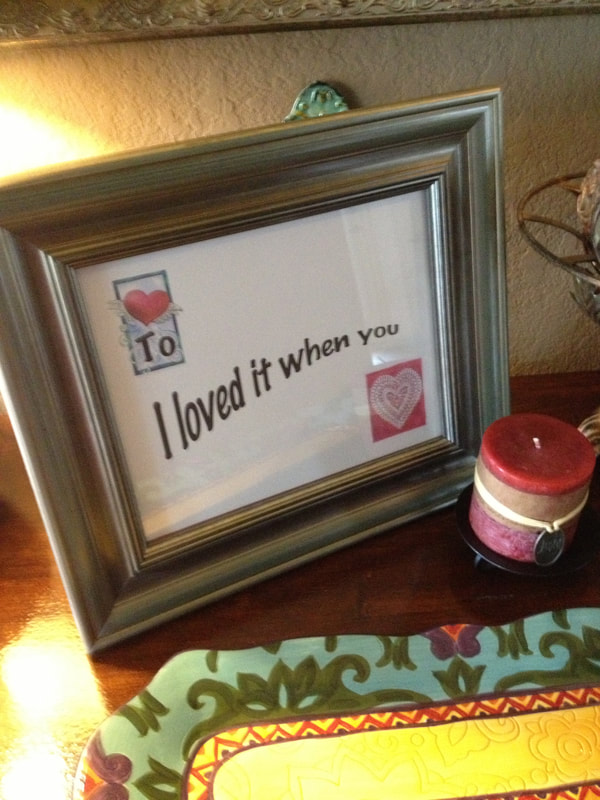
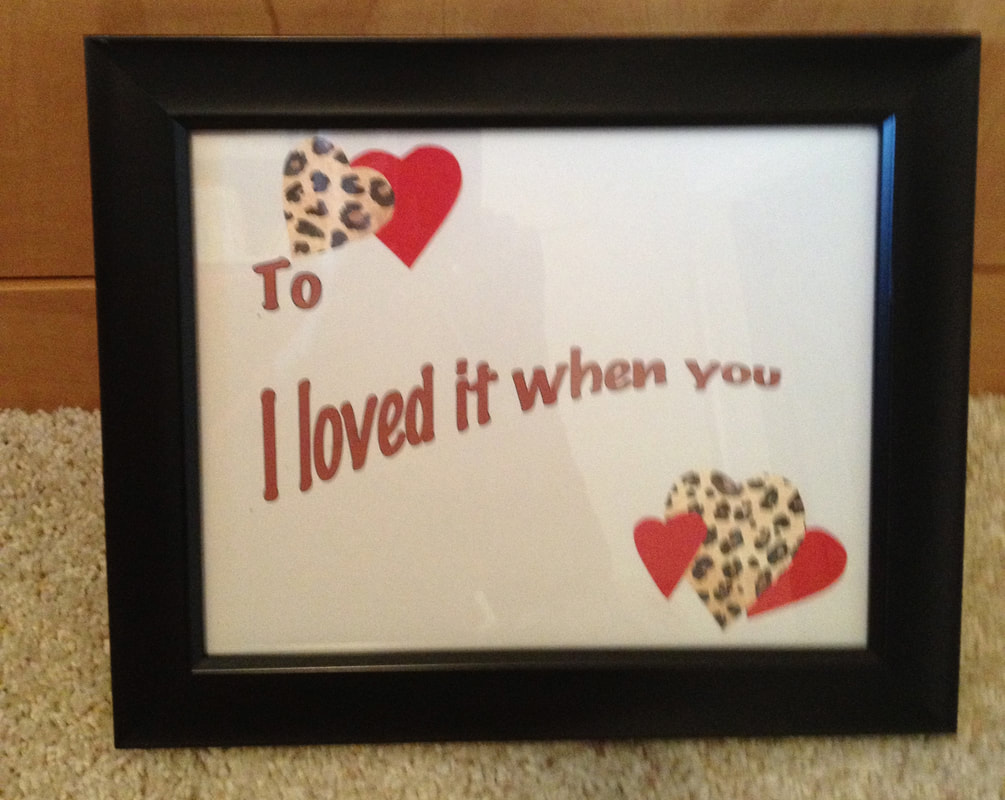
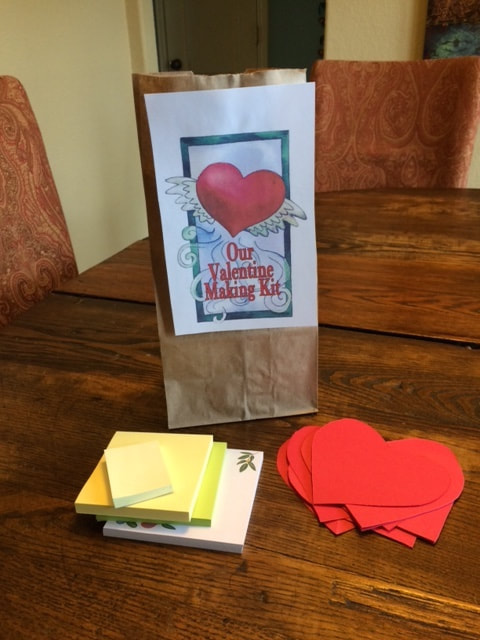
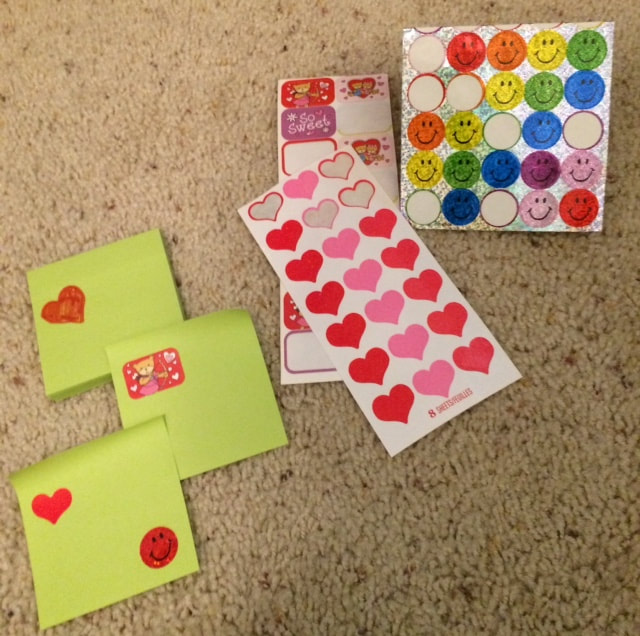
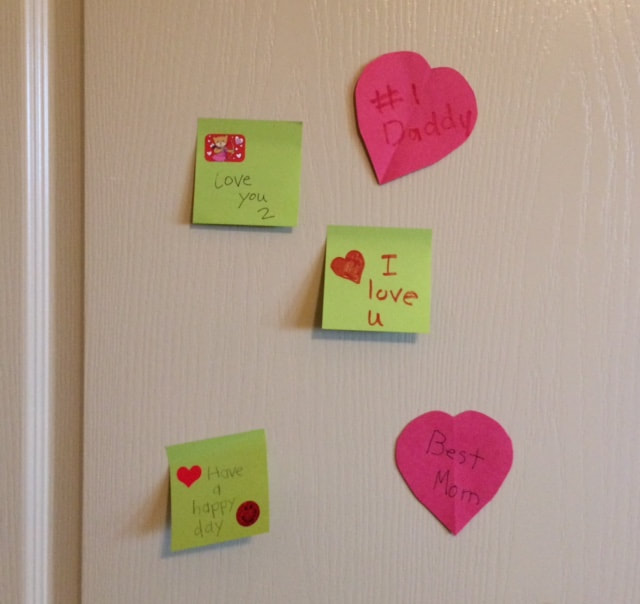
 Encouraging your grandchildren to spread the love! I admit it. I'm a hopeless romantic. I love Valentine's Day--always have, always will. And I love sharing the various traditions with my grandchildren. I'd like to rephrase the lyric to the song--let there be love on earth and let it begin with me. With these activities, hopefully we can encourage our grandchildren to share the love and fun of Valentine's, not just with their friends and classmates, but with their family as well. We all need to be reminded to tell our parents and our siblings how much we love them and what we appreciate about them. One year when my grandkids came over for some Valentine crafts and fun, I sent them home with mini-dry erase boards to use with their family. I asked them to set it up in a family area, and encouraged them to write notes on the board to each other--their parents as well as their siblings. The dry-erase boards were simply made from wooden frames with a glass. Perfect dry-erase board. Here, I'll show you: I'm sure it's pretty self-explanatory. You write whom it's "To," mom, dad, sister or brother. Then under the line that says, "I loved it when you," write something you love or appreciate that they did. I had seen a similar framed sentiment, but it said, "I love you because..." and I didn't want my grandchildren to think they were loved just because they DID something. I feel they need to understand that love is unconditional and simply "IS." But of course they can love and appreciate certain behaviors from others. And more~ Another way to do this is with sticky notes. This would be fun as well. Simply get together with your grands and make Valentines for family members. Then suggest they stick them on their bedroom door or place them on their pillows. Besides cutting out and making Valentines, supply them with sticky notes and cards to take home. And once again, they can do this in the days preceding Valentine's and make sure they include everyone: mom, dad, siblings. Just another way to encourage communication and writing with a purpose! And it's just FUN! Who wouldn't love to discover a love note on your pillow, bedroom door, or bathroom mirror. What if your grands don't live in town? No problem. Just mail them the mini-dry erase board, and FaceTime with them explaining where to set it up, and how it works. Isn't all our technology simply wonderful. We can still do these things even if our loved ones are out of town.
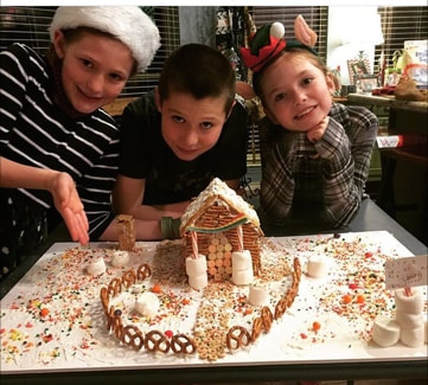
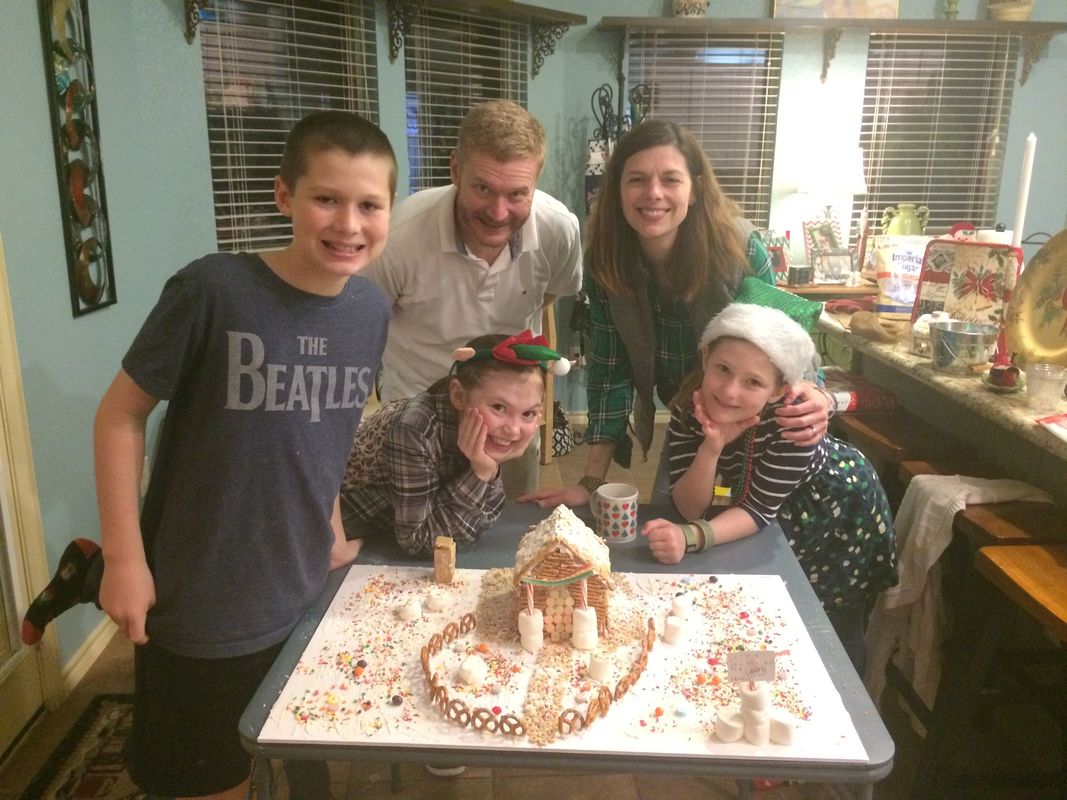
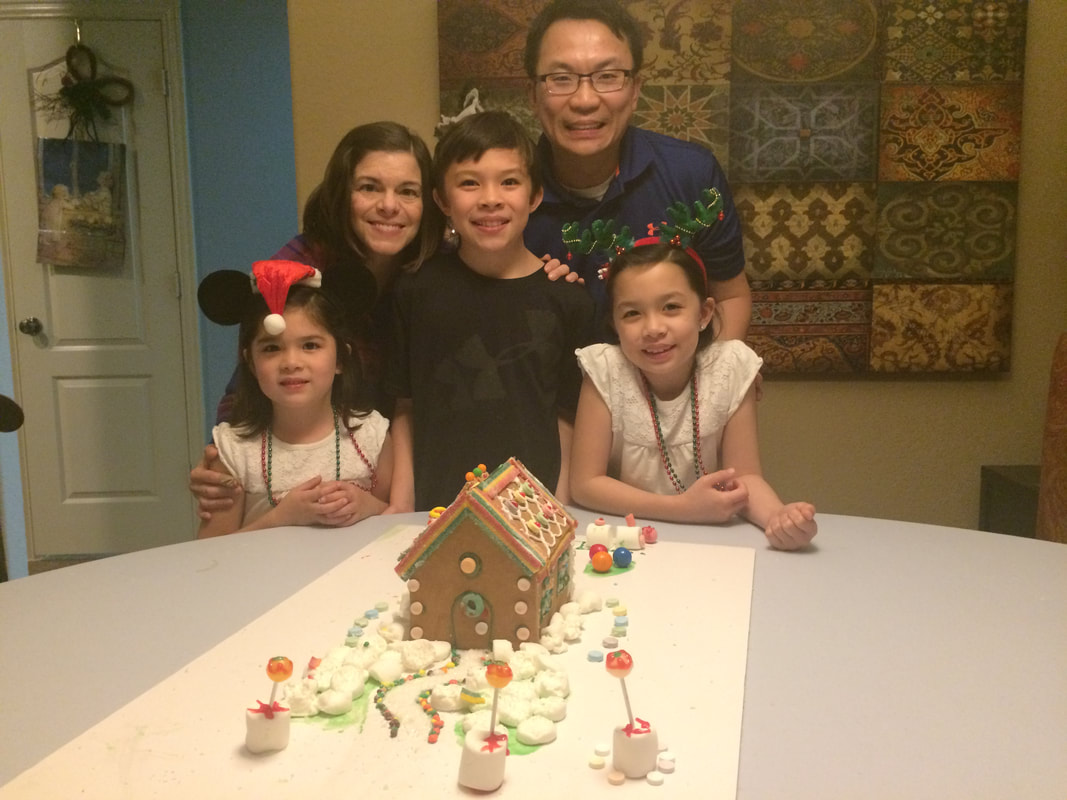
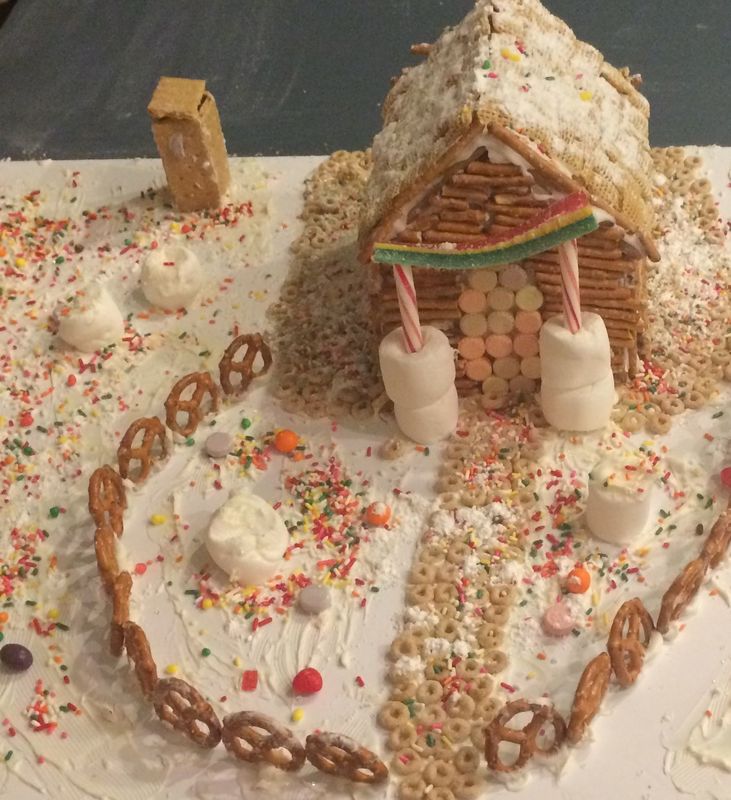
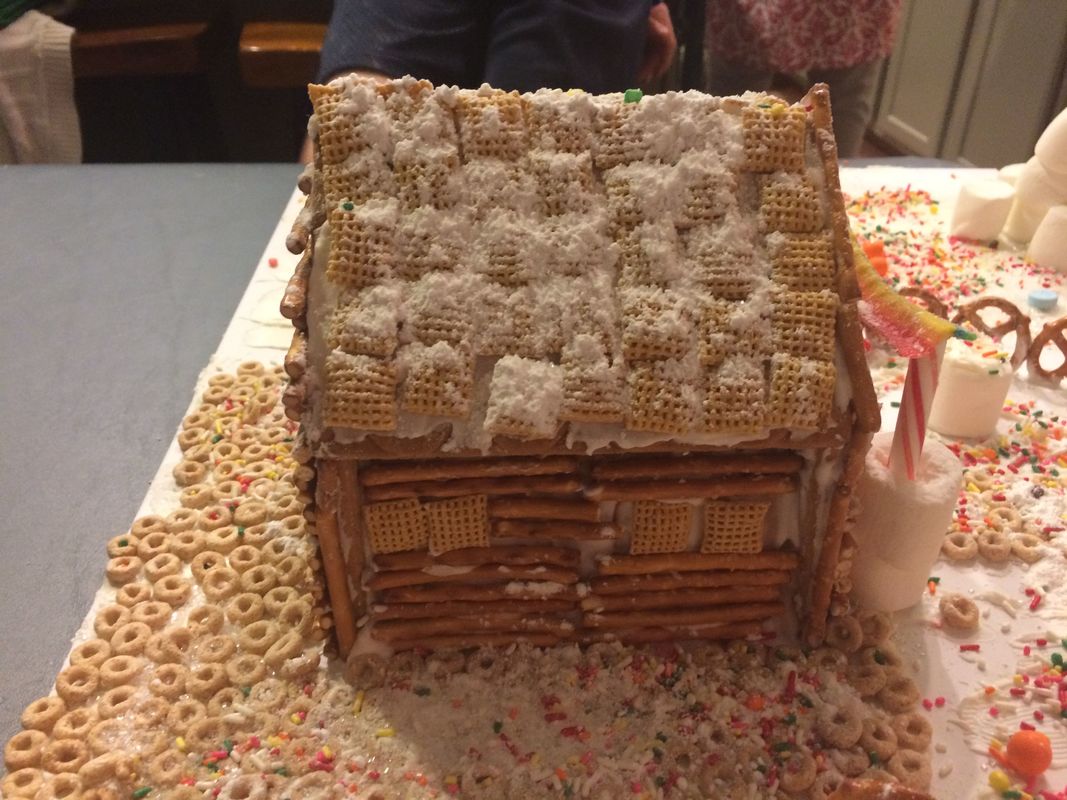
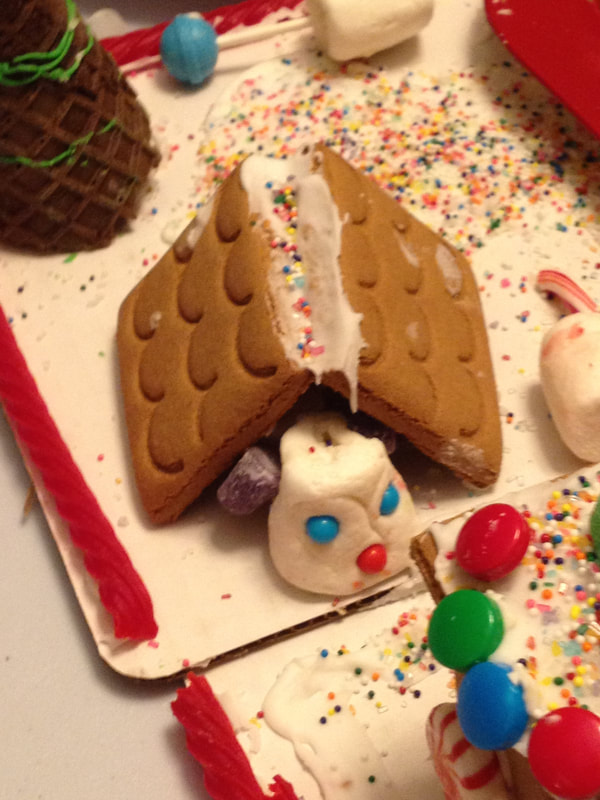
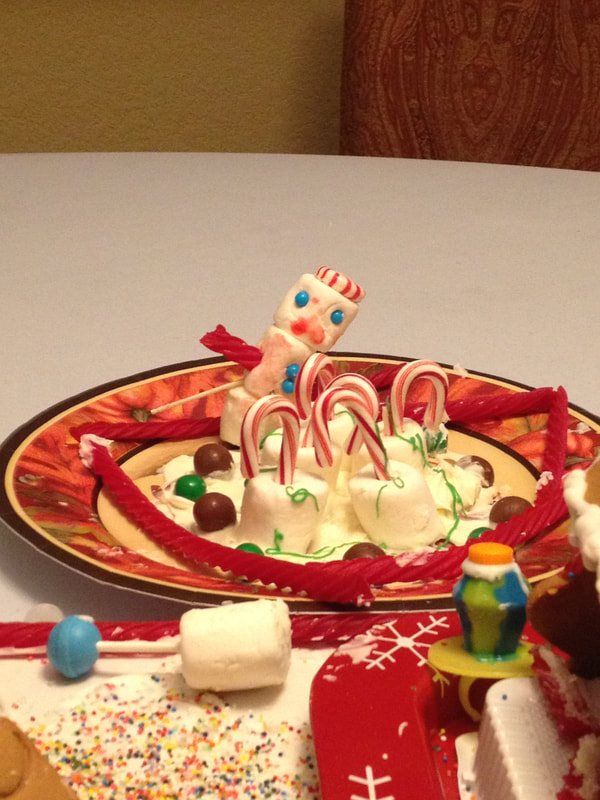
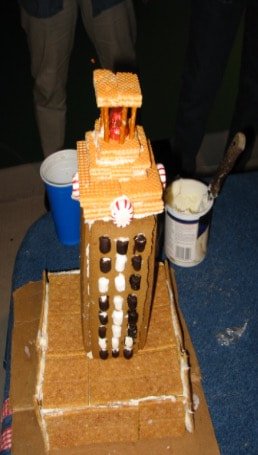
Special note~ If you do use the mini-dry erase board for your grands, be sure to include NON-TONIC dry erase markers. I checked online and the Crayola brand is non-toxic and washes clean from hands and clothes. Also a reader suggested just laminating a piece of card stock for the message board. This might be easier for the little guys to write on, and perhaps a cheaper alternative. And please don't think this suggestion is just for older, school-age grandkids. The little guys love delivering love notes too. They can scribble or draw on their sticky notes. I'd say it's especially fun for them. Happy Valentine's Day, everyone! This winter weather has us all with the blues. Valentine's Day is the perfect day to shed some of those negative thoughts. Have fun! And please share any ideas of things you've done with your grandchildren......and even your own kids. I love hearing from you! And finally~ You know you don't have to use the mini-dry erase board just during Valentine's. You can use it all year long. And the sticky notes on doors? That can be done on birthdays or other special days. Spread the LOVE! Do you build and decorate gingerbread houses at your house? I'm guessing most of you do as I see the results on Instagram and Facebook. How about adding a twist. Have a competition between families or cousins for a little festive holiday fun! I actually started doing this before I had grandkids. I invited my co-workers over for some Christmas fun and asked them to bring their kids. I told them we would be having a gingerbread house decorating competition, and they came prepared. There's something about adding the element of a rivalry to bring out everyone's competitive traits and spark their imagination. Continuing the fun with my own kids! I couldn't wait till I had grandkids so I could continue the competition. I only have three grandkids in town, so at first the decorating was within our own family. I got two gingerbread house kits, and it was the boys against the girls. That way there were adults to assist the younger kids, and let's face it--the boys against the girls is always fun! We are fortunate in that my grands do have cousins in town as well, so about three years ago, we started challenging their cousins--my daughter-in-law's sister's family against our family. I have to say that has been a blast! We choose some night before Christmas and really make a grand ol' party of it--wearing our best Christmas socks, eating pizza, and playing games. All that besides decorating the houses. I provide the candy house kits to each family, but they can bring any embellishments they want. Prizes are given for creativity, good sportsmanship. . . things like that. And the traditions continues. . . This year there is simply no time before Christmas to have a competition. But that's not stopping us. I think we'll simply ring in the New Year with our cousin party and house decorating. But the gingerbread house will have to have a "New Year" theme. I've been thinking that the invitation I send to all the kids will perhaps have a "Mission Impossible" motif with a list of the theme and components we will be judging. I actually got this idea from the very first competition I mentioned above with my co-workers. One of the families created the UT Tower (University of Texas). I've never forgotten that--so fun! Parting thoughts~ If you've never decorated gingerbread houses with your grands, you simply must try it this year! The kits are incredibly cheap and you can even find them at your local discount pharmacies and grocery stores. And you don't have to have a competition--just get the family together and everyone creates. As always, there are tons of ideas online....particularly Pinterest. Just do a search. I've even seen one idea for a party wherein every participant gets a stack of graham crackers and their own plate. Bowls of candy (and other embellishments) are placed in the middle of the table along with tubs of icing available to everyone. Then the family can create a little gingerbread village. The ideas are endless. Have fun! And as I always say, please share your ideas and pictures! We'd all love to see! Two fun websites: thatmommyblog.blogspot.com/2011/12/christmas-fun-gingerbread-playdate.html And because I love all things New Mexican, here's another:
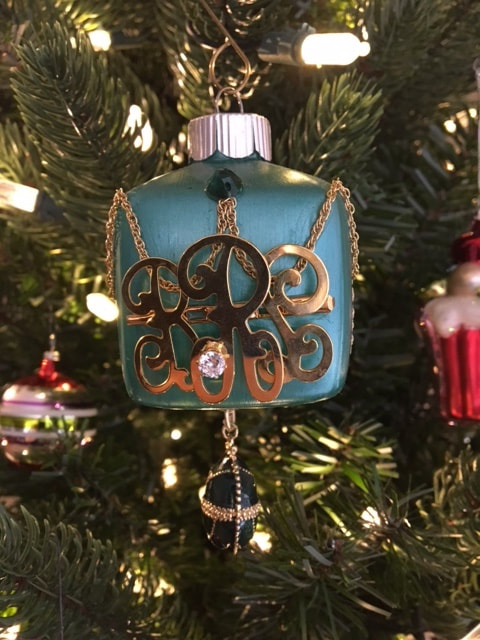
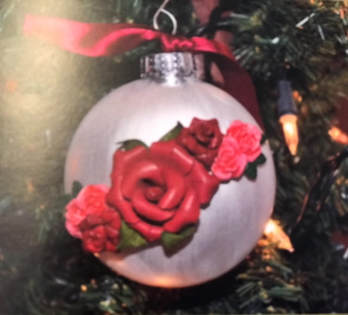
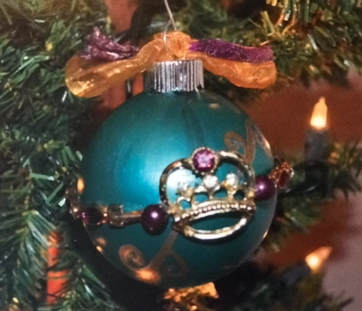
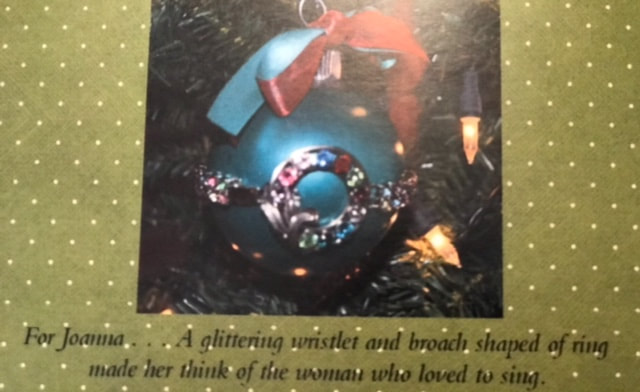
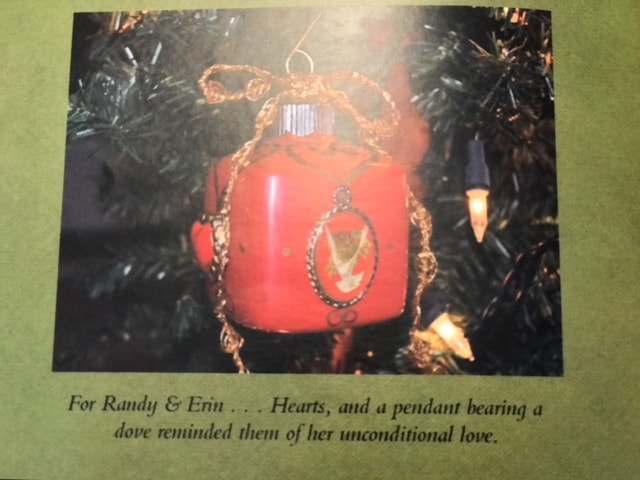
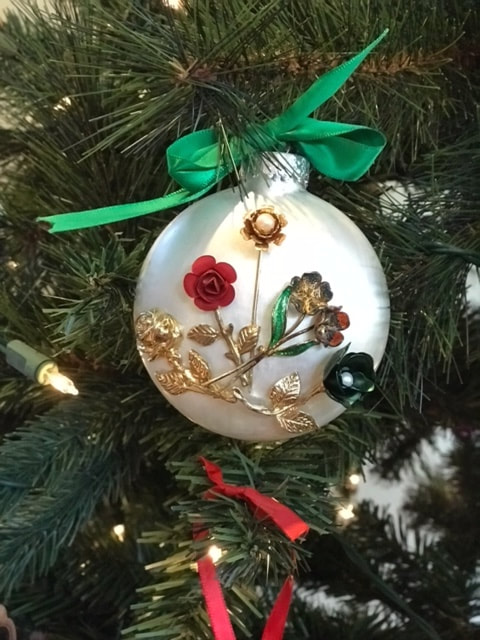
www.indianpueblo.org/centerevent/9th-annual-pueblo-gingerbread-house-contest/ More Christmas crafts~ Creating Heirloom Ornaments from Grandmother's Jewelry Yesterday my blog was about creating ornaments for the family's tree out of buttons from Grandmother's button box. The idea came from a friend from my youth, and I love her idea and creativity. It brought to mind another friend's creations for family trees from her grandmother's jewelry. She's a beautiful writer and has her own blog. I'll let her tell you: Hanging Up Heritage~ My beloved maternal grandmother passed away just after Christmas of 2007. I am forever grateful that we got that last Christmas with her; as her passing was sudden and completely unexpected. It took a while for my mom and her sisters to go through her things, but after they did, they came back with keepsakes for all of us. Among the many things I was given, were several pieces of my grandmother’s jewelry. Some of it was valuable and sentimental, and others less seemingly so. My mom scooped up a handful of the latter along with a cluster of old buttons and beads and said “we thought you could do something creative with this.” Hmmm, that got my wheelhouse turning. How could I repurpose these pieces of what most would think to be dispensable into something meaningful? Whatever it was, I knew I wanted it to be something that honored my grandmother and I wanted it to be something I could share with the entire family. The idea of ornaments came to mind, as my grandma LOVED Christmas. Reflecting on our many yuletide memories solidified my notions of figuring out a way to fashion ornaments out of my grandmother’s things. I went to my local craft store (aka my second sanctuary) and found unfinished glass ornaments of various shapes and sizes. Some were flattened circles, others spheres, and I even used cubes. Most of her jewelry and buttons shared a common theme of colorful rhinestones and varying shades of metallic. I procured metallic acrylic paints in ruby, emerald, sapphire, and pearl. They perfectly complimented the jewel tones I was working with. Then I set up a makeshift workshop and got busy. I did my best to channel the craftiness of my grandmother, and in an elfin-like state, I began painting ornaments, snipping the backs off buttons and lapel pins, and removing clasps from bracelets and necklaces. Wire snips, a metal file, and E 6000 glue became my new best friends. All in all, I had enough supplies to create sixteen unique ornaments. That was one for each couple in our family. Every one of those ten grandchildren, plus the aunts and uncle pairs, were able to receive one. Next came a way to present these gifts in a special way. Sturdy cardboard boxes seemed the way to go in perfect ornament size. I found them! I wanted a way to explain to the family (as all of this was done in a great shroud of mystery and surprise) what I had done and also give them a way to see everyone else’s ornaments; as we are spread out geographically. A photo book seemed like the perfect solution. I took pictures of each ornament hanging on my Christmas tree, and then adapted a version of “The Night Before Christmas” to add some festive commentary to the images. I ordered 3X5 soft-cover books from Walgreens and they were perfectly sized for the boxes I had chosen. Once I had collected all of the components, I started assembling my packages. Each ornament was carefully wrapped in white tissue paper and then a thin layer of bubble wrap. If my memory serves me correctly, a handwritten Christmas greeting was written in what else, but gold paint pen, my grandmother's favorite. The books fit neatly inside each box. They were then wrapped in parcel paper, addressed, and sent on their merry way. The response I got to these gifts was emotional and overwhelming. My family was so moved that they each now had a tangible way to remember my grandmother at her most favorite time of year. This project was indeed labor intensive, but with every stroke of the paintbrush and with each dot of glue, I couldn’t help but think I was making Betty proud. The beauty in these ornaments is not just in their physical attributes, but the rich memories that they represent. What began as a fleeting thought turned into a wonderful way to dress up our trees each year by hanging a little heritage among their branches. My grandmother may be gone, but she truly is with us in spirit and her remembrance is a treasure I deeply cherish. Thank you, Sara, for sharing this wonderful family tradition. I hope it inspires others to create remembrances, not just for our grandchildren, but others in our family as well.
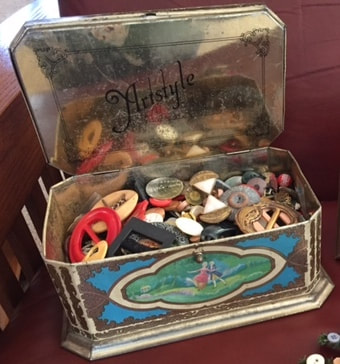
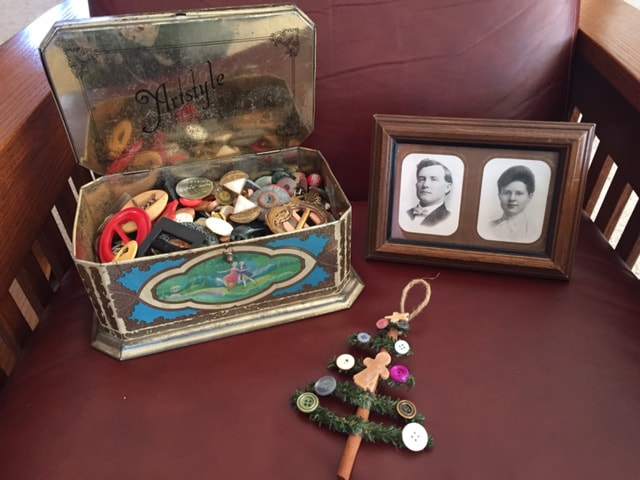
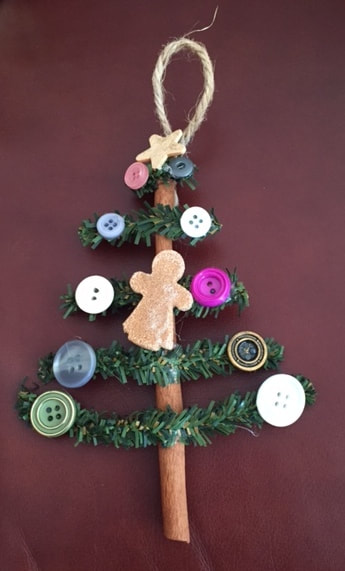
Final thoughts~ I'm going to be sad when this holiday season is over. I have loved getting these wonderful family traditions and creations from my friends and readers; from my sweet sister-in-law sharing her travel-to-England book to Judye's button box and now to Sara's beautiful ornaments. I hope you've found something that inspires you to share (and maybe create) with your own grandchildren. Happy Creating to you! Do you have beloved ornaments from your grandmother's Christmas tree? What a treasure. Have you ever crafted something for your home out of an item worn by a sweet grandparent? I know when my husband's father died a few years ago, my husband's sister made us all a wonderful wall hanging out of my father-in-law's old flannel shirts and presented them to us for Christmas. It's hanging in my husband's study. But I really had never thought of crafting items for the Christmas tree out of things passed down from grandparents. A reader (actually two readers of this blog) shared a holiday craft--making treasured ornaments out of things passed down from grandmothers. Today I'll start off with Judye's story~ The Button Box Did your grandmother have a button box full of a variety of shapes, sizes and colors of buttons? My grandmother had such a box which came to me. One year, my grands and I got into the button box and made Christmas decorations. The grandkids loved searching through the button box and looking at all the different kinds of buttons. We talked about their great-grandparents, what their lives were like and why they even needed to have a button box. Together we wrote up a little family story about the button box. For the tree decoration, we took a cinnamon stick, cut some pieces of fake greenery to glue on the cinnamon stick and added buttons as the decorations. Each child got to select the buttons that they wanted on their tree. This was a great way to pass along some family history and give them a memory to hang on the tree. My grandchildren had plenty of wild and crazy buttons on their trees! History of the button box~
Judye's parents and my parents were children of the depression. They were raised at a time where you saved and recycled EVERYTHING! If the shirt or jacket was threadbare, you removed the buttons before you tossed the shirt. The buttons went into the button box. However in my case, it was a button tin. Another friend reported that her grandmother had a button jar. Then when you lost a button, your mother would send you to the button box to see if you could find a match. I even remember sewing with my mother-in-law and needing buttons for the pattern. Often my mother-in-law would say, "Oh, don't buy buttons. I think I have some in my button can." When Judye shared this story, I remember my mother's button can vividly. It was a little rusted around the rim and so when you tried to take the lid off, many's the time it would POP off, and buttons would scatter all over the floor! Loved the little trip I took down memory lane when Judye told me about her grandmother's BUTTON BOX! A fun Christmas craft with your grandchildren~ Maybe it's not too late to make such ornaments with your grandchildren. Or some other Christmas decoration. I've seen people take wooden trays and decoupage favorite Christmas pictures on it. How fun to get that out year after year and serve hot chocolate to your grandkids and reminisce about the photos. I know my readers have tons of ideas. Please share! That's how I got this story about THE BUTTON BOX! Stay tuned for tomorrow's blog! It's another one about crafting Christmas ornaments with treasures from your grandmother. The writer is a blogger too and she called her essay, "Hanging up Heritage." Watch for it. And keep those ideas and Christmas crafts coming! We all love it! Kids' books about button boxes: "The Button Box" by Margarette S. Reid "The Button Box: Lifting the Lid on Women's Lives" by Lynn Knight (not sure of the age level on this one) |
AuthorRetired school teacher and now full time grandmother sharing ideas and looking for new ones about grandparenting! Archives
December 2023
Categories
All
|


 RSS Feed