|
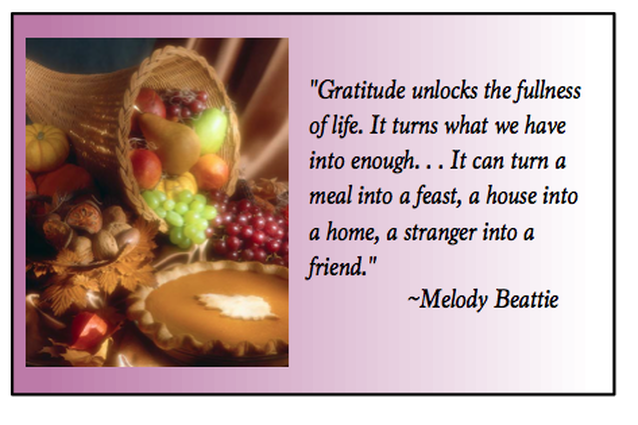
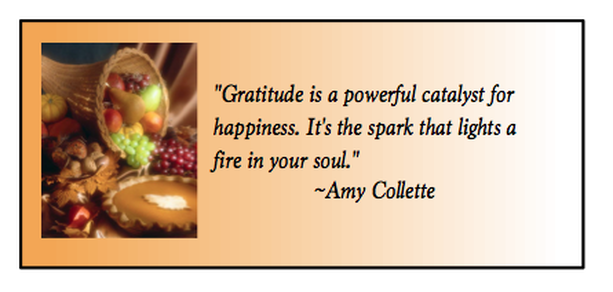
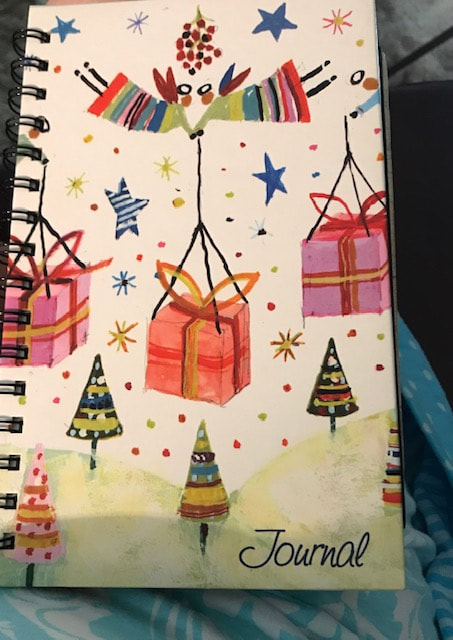
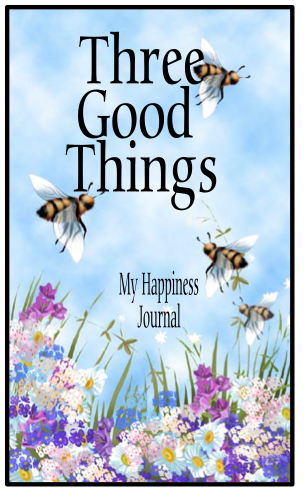
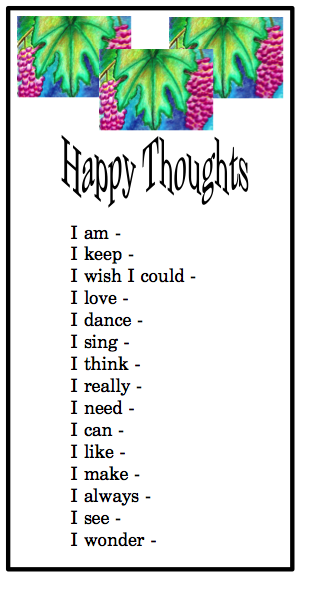
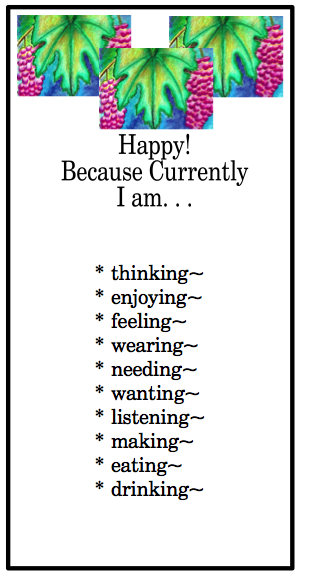
Thanksgiving season is the perfect time to start a gratitude journal. In past Novembers, I've seen Facebook do what they billed as "Thirty Days of Gratitude," wherein members were encouraged to share on Facebook each day something they were grateful for. I've never participated, but it really is a good idea. I was reminded of the blessing of doing a gratitude or happiness journal by a friend. Her mother recently passed away, and she was reading her mother's happiness journal. Kathy had given her mother a journal one Christmas, and discovered the journal with her mother's things after she died. She was loving reading the journal, and learning even more about her mother. So I put those ideas together. If you've never done a happiness or gratitude journal, November is the perfect month to start. And to remind you to also think about posterity. Family members will one day enjoy reading your journal, just as my friend is doing now. Gratitude journals revisited~ During this month, I would encourage you to start a gratitude journal. It can also be called a happiness journal because, as social scientists tell us, gratitude is the KEY to happiness. And if you have done one in the past, but have discontinued it, I would encourage you to start it again. Not to sound corny, but it is the spark that reignites the fire in your soul. All you have to do is keep a little journal specifically for writing 3-5 things that make you smile on any given day. Or simply add those things to your journal or day book. Bookmarks with ideas and writing prompts~ Last year to encourage my granddaughters to write in their journals and to give them ideas of things they could write about, I made them bookmarks with writing prompts. These writing prompts will also work in a happiness journal. Sometimes when you are filling in the blanks, it helps you take stock of things you're grateful for. Here are my bookmarks. You can either print them out to insert in your journal, or simply write down these ideas. Gratitude journals can be the key to getting through a difficult time~ Last night I was fortunate to go see a former high school classmate at a local entertainment venue. (I know--how fun was that!) He shared a song he had written with the Eagles' Don Henley. They had both broken up with girlfriends and were feeling pretty low. Times were also difficult in our country. They wrote a song together, and this gentleman told the crowd, "Our country is going through difficult times again. Sometimes it helps to focus on the good and to create something--get your mind off the hard times." I found it interesting that I'm not the only one who turns to writing, creating and refocusing on the good during such times. So if you're going through a difficult time, all the more reason to start a gratitude journal. Try it for thirty days--the whole month of November, and see what a change it can bring in your life. Happy Thanksgiving season to all! And please feel free to share my blog with others.
0 Comments
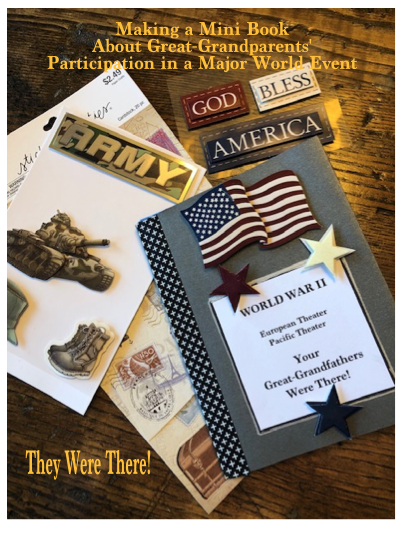
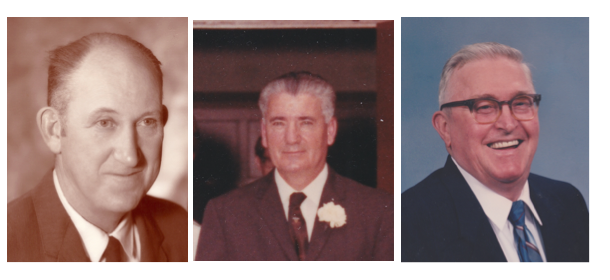
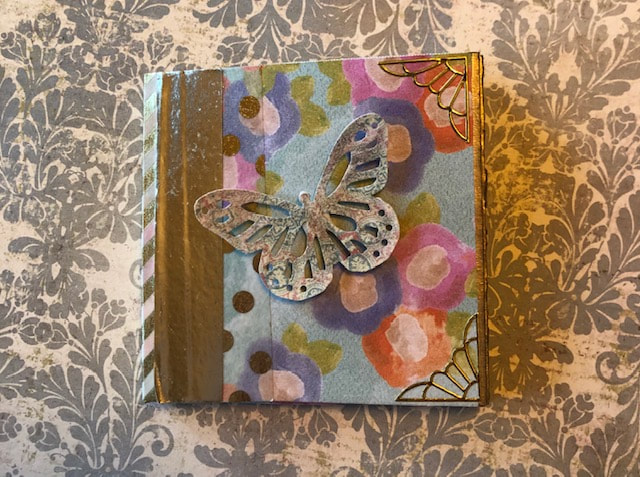
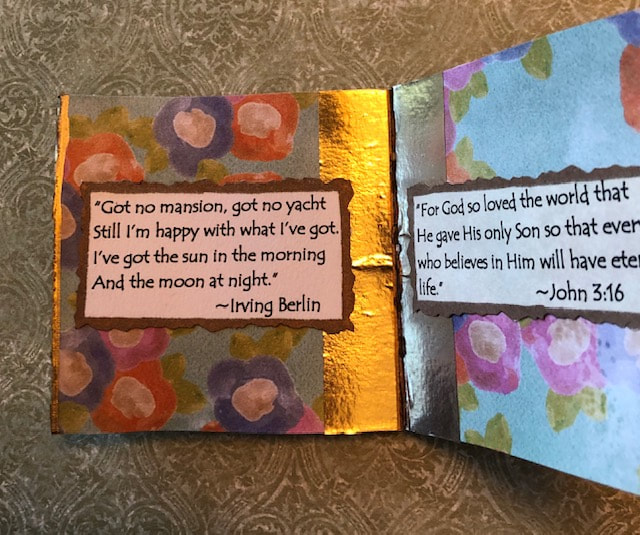
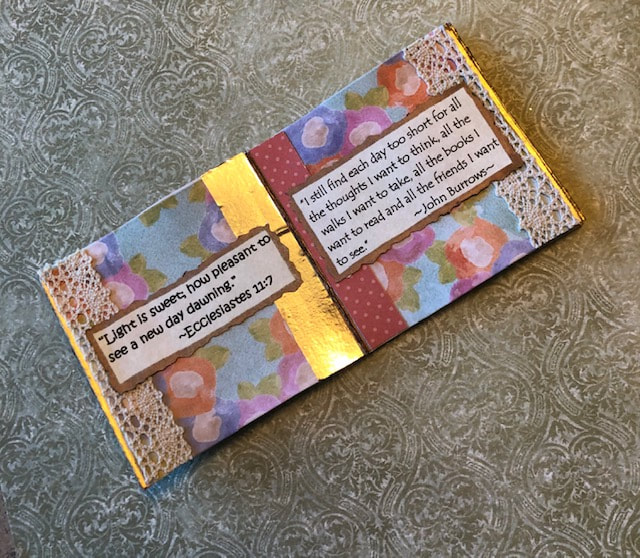
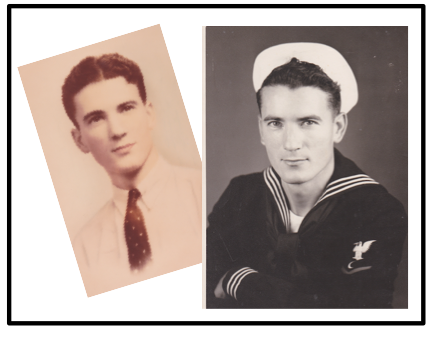
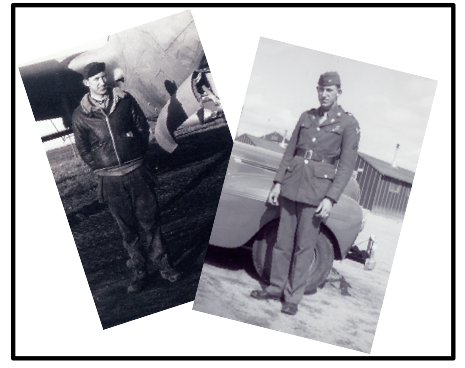
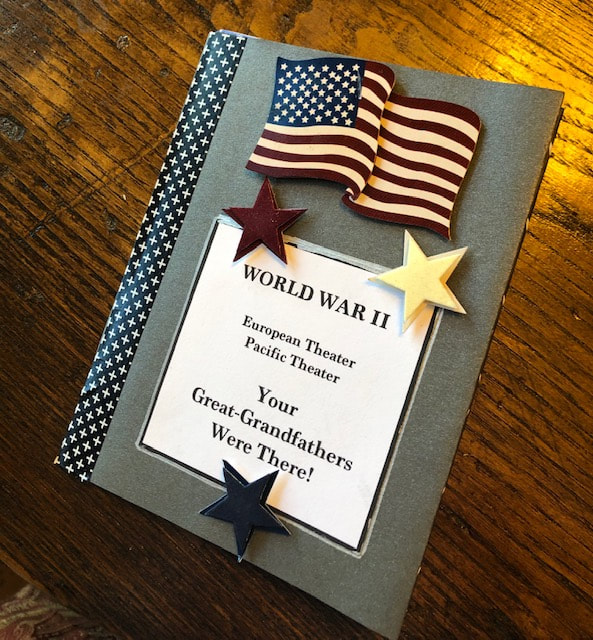
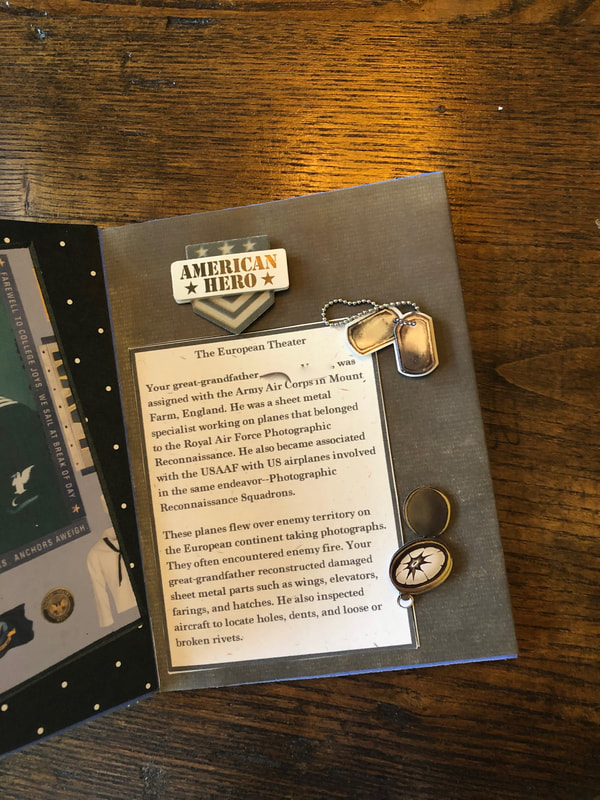
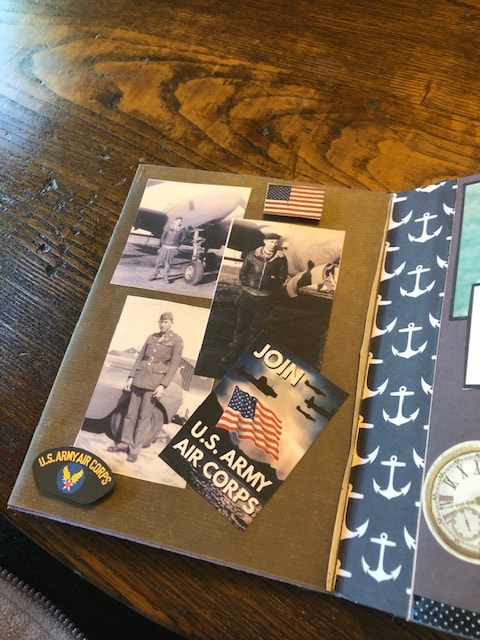
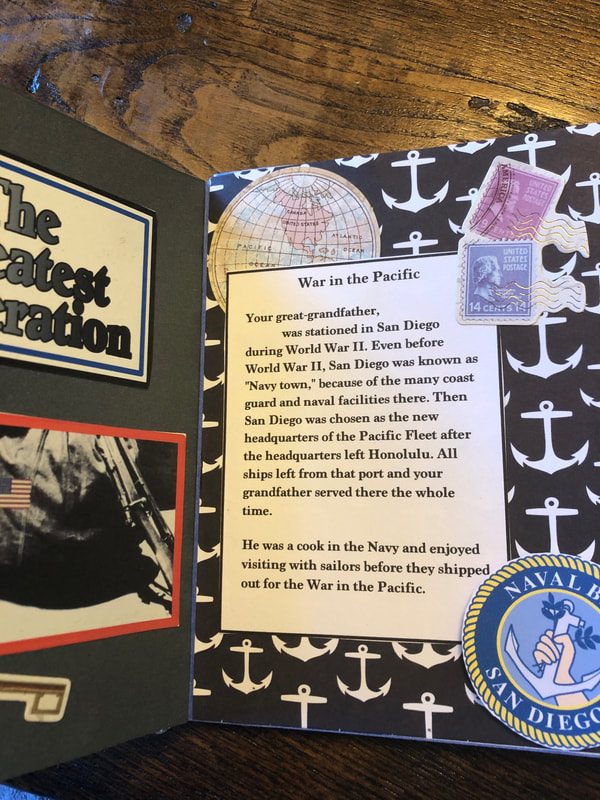
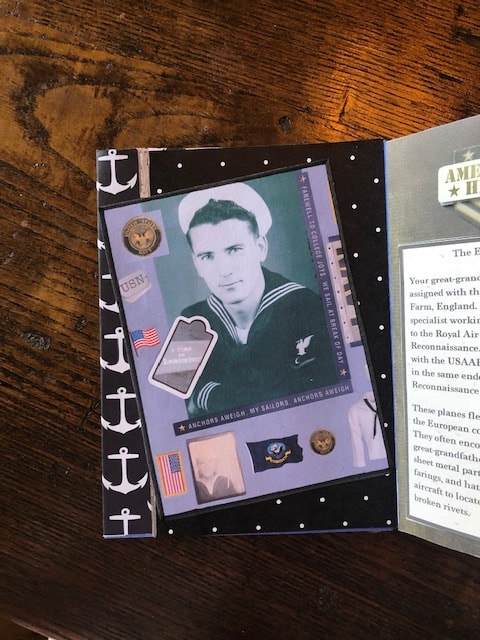
More ancestor stories~ Since I've come to this time of my life (Read: Grandparent), I've come to realize the importance of sharing my story and our family's story with my grandchildren. And as I read assorted books about various times in history, I realized my children and grandchildren should know, not just about the routine facts of their ancestors' lives, but how those people played a part in the BIG EVENTS of our time. So I set out to write about exactly that for my kids. Two ideas that came together~ And as always seems to happen, I got a sweet mini-book in the mail from a dear friend. I was going through a sad time, and she sent me a tiny book of scriptures, inspiring quotations and assorted sentiments. There you have it--a convergence of two ideas! Love when that happens. I was unsure in what format I wanted to share with my grandkids this wee bit of family history, and I realized I could do it with a mini-book. Step #1--Deciding on a world event~ This step was easy. Since my generation of Baby Boomers are the children of the Greatest Generation, I had to start there. World War II is probably the biggest event of the last century, so this is the first event that my parents played a part in that I would share with my grandchildren. I think it's very important for my grands to see and know that their great-grandparents played a part in this war. Step #2--What format to use for the sharing? As I said, I received a mini book from a sweet friend, so this seemed the perfect way to go. Step #3--Gather any pictures you may have of the grandfathers~ If you have pictures of the relatives from World War II, that would be great. Use those! I unfortunately did not have any photos of my step-dad from the war, so I just used the pictures I had. It doesn't really matter, you want your grandchildren to see photos of those people. I love this quote from Raquel Cepeda, "When we illuminate the road back to our ancestors, they have a way of reaching out, of manifesting themselves...sometimes even physically." I want my grandchildren to see photos of those dear people.....to look into their eyes. Even if it's just an old photo. Step #4--Get the information on the BIG EVENT~ This will be very brief as this is a mini book. My book turned out to be 4 1/2x6 inches, so you can see, the information had to be brief. And my father served in the Navy so I narrowed my focus about him to the Pacific Theater, and even narrowed the focus again to where he was stationed and what his job was. The same with my father-in-law; he was stationed in England, so I wrote the background information on him to include the European Theater and his job there. And as my friend Kathy reminded me--they will study this part in school. No need to give extensive background. Step #5--THE FUN PART! Creating the book~ My friend's book was constructed from a 12x12 inch piece of scrapbook paper; when folded it makes a 3x3 inch book. I'll include the youtube video for creating this at the end of my blog. I really need to get her to guest-blog for me about her hobby--creating cards and mini-books, but I digress. As I said, her book was too small for this project. I opted for a bigger book that we used to make in school. It's made from a 12x18 inch piece of construction paper making a 4 1/2x6 inch book. I'll include a website with instruction for that too. I also trotted off to my friendly local craft store and got scrapbook paper that I considered appropriate for my World War II motif, as well as stickers about the army and Navy. I really consider this the fun part. Viola! The finished product~ No more step-by-step from me. I think you'll get the idea from seeing pictures. I also used clip-art from my computer programs, so there's that. Just have fun with it. So there you have it! If you're like me, you know you need to tell the stories of your parents and grandparents, but it seems such a daunting task. I finally was able to write something about these wonderful people when I thought in terms of historical events. I think that's probably what people want to read--not so much about their day-to-day lives, but what they did in BIG important matters. If you're trying to write about your parents, give this focus a try. It helped me! Parting thoughts~
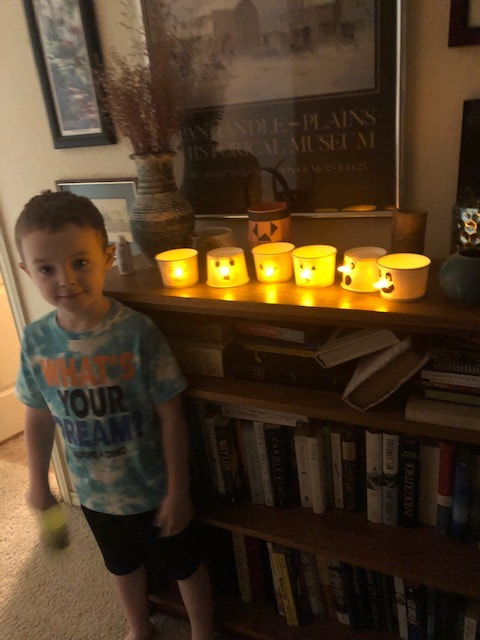
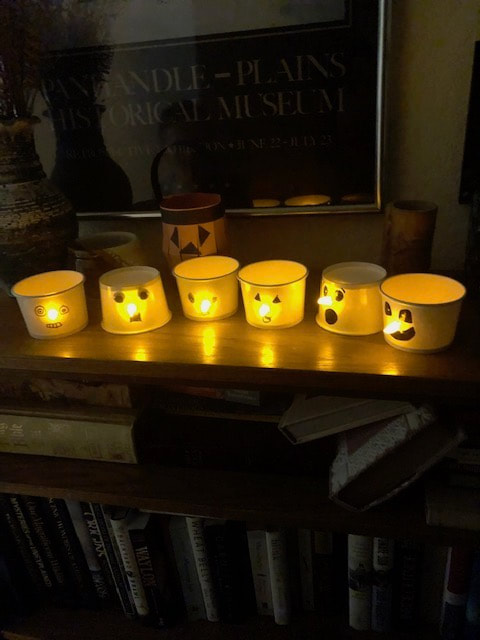
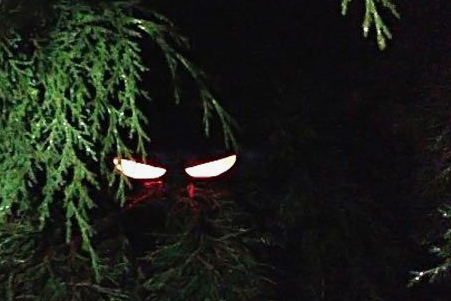
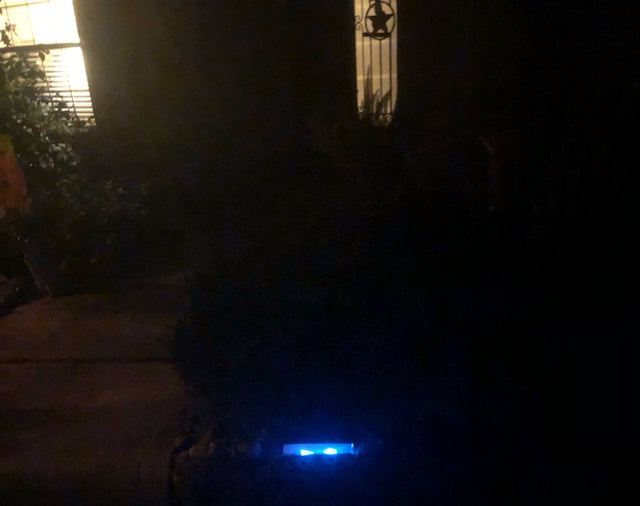
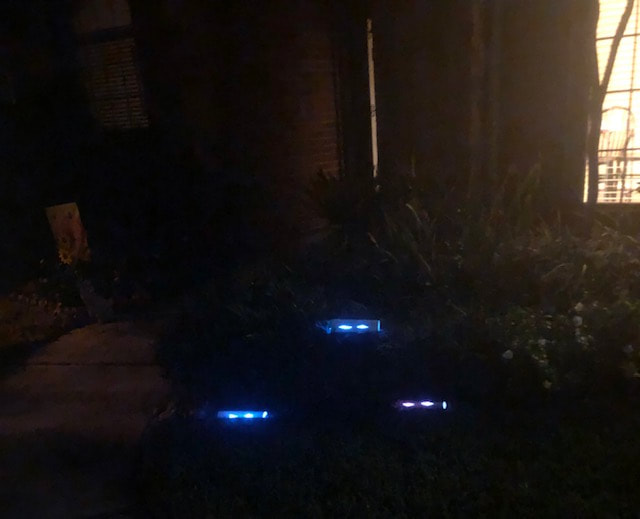
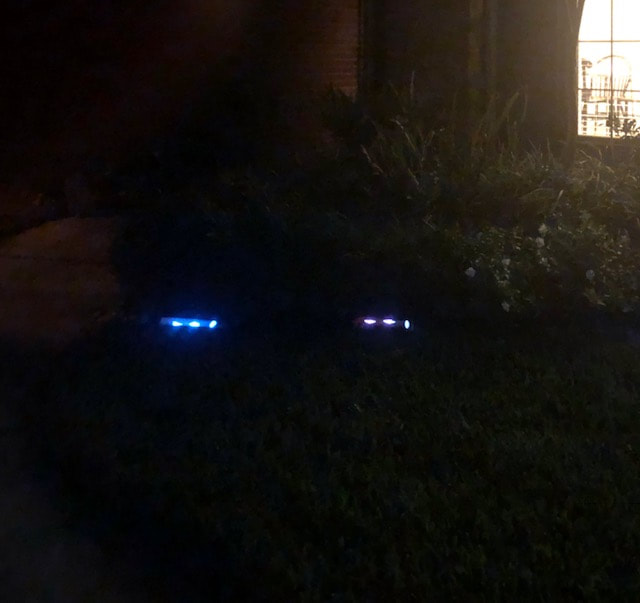
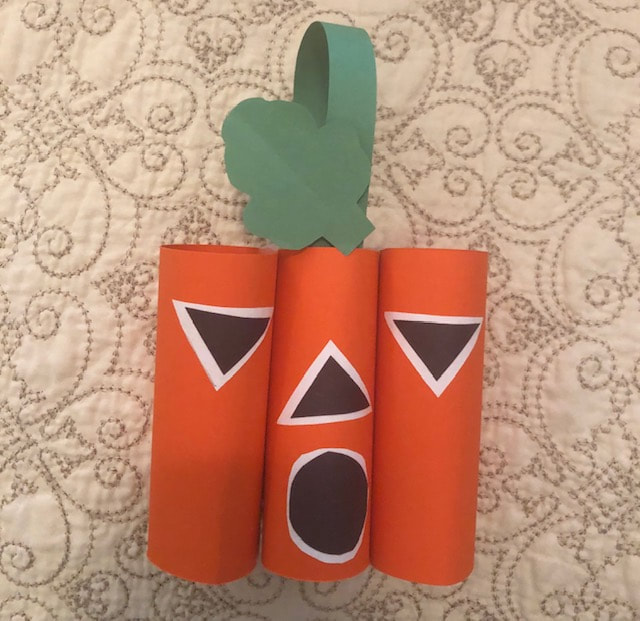
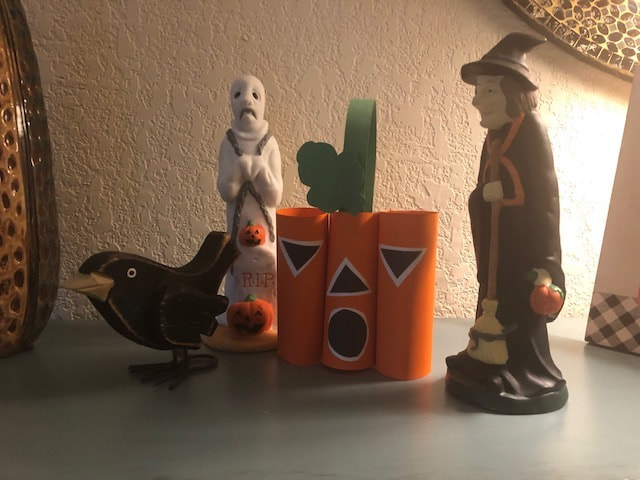
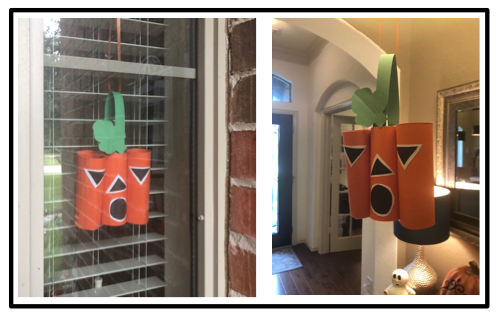
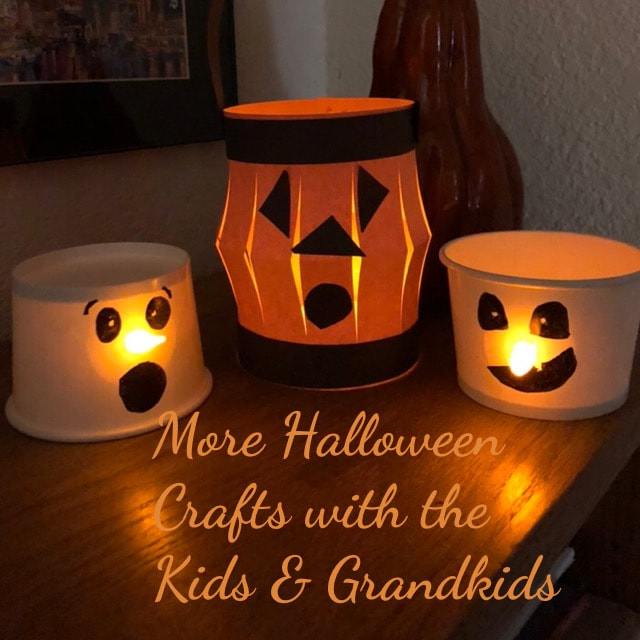
Halloween lanterns from paper cups~ I wrote about this craft in my October 2nd blog. I finally had time to create more of these lanterns with my grandson. We made several of the paper cup lanterns, and he took them home. I will repeat the address of that blog at the end of this one. Eerie lights for the yard~ These are very simple, and I'll include the website at the end of my blog. The blogger suggests using empty paper towel rolls, but I just rolled up card stock. Unfortunately for these photos, I used white card stock, but I plan to use black card stock on Halloween. As I said, these are just empty paper towel rolls, wherein you cut scary eyes. Then you insert those light sticks that you see at hobby stores. I had some leftover from the Fourth of July, so I used those. I had to fold them twice to get them in the roll, but they worked. I apologize for the quality of these photos, but it will help you get the idea. These will have to be made on Halloween as the lights only last a few hours. 3-D Pumpkin~ This was another craft I did with my grandson. It's the same concept as a paper chain that we did in a previous blog. We made ours with 8 1/2 x 11 inch orange card stock as I thought it might stand up better than construction paper. You can either use this pumpkin for a table decoration or hang them up. We cut the card stock in quarters creating chain pieces that measured 4 1/4 x 5 1/2 inches. Then we just taped them together forming a pumpkin. Again, I'll provide the website below. Crafting with the grands~ As I always say, the main point of doing a craft with your kids or grandkids is mostly about that time you spend together. It's such a great time for conversation and laughs. But they'll also have something fun to take home and display at their house. My previous blog about lanterns from paper cups: www.gigisseasonings.com/blog/craft-ideas-with-the-grands-for-the-autumn-season Blog for making the spooky lights for yard: www.buzzfeed.com/peggy/last-minute-halloween-hacks?sub=2666995_1791258 Happy Halloween, everyone!
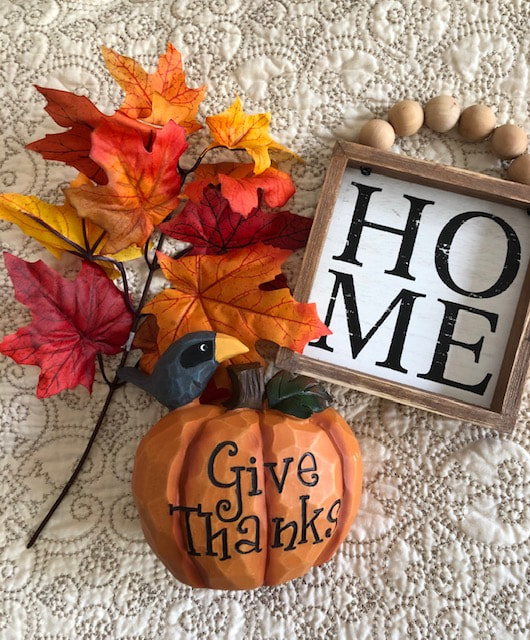
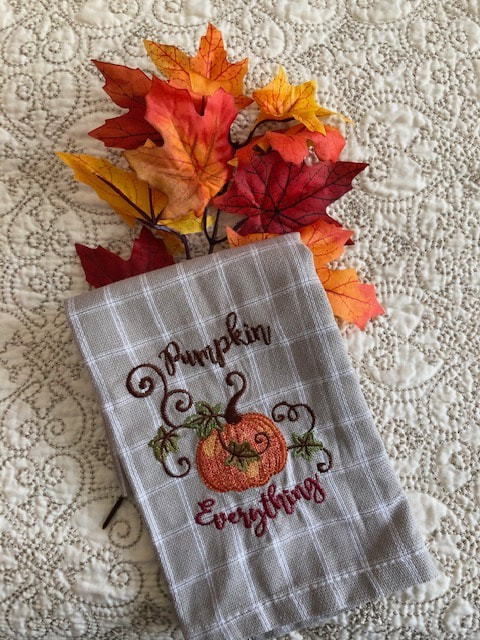
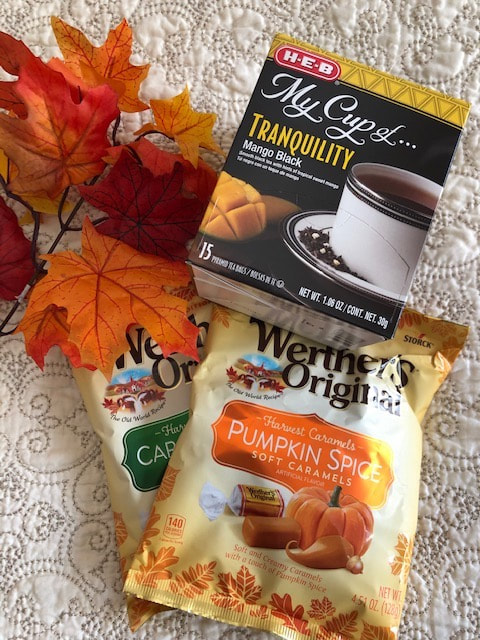
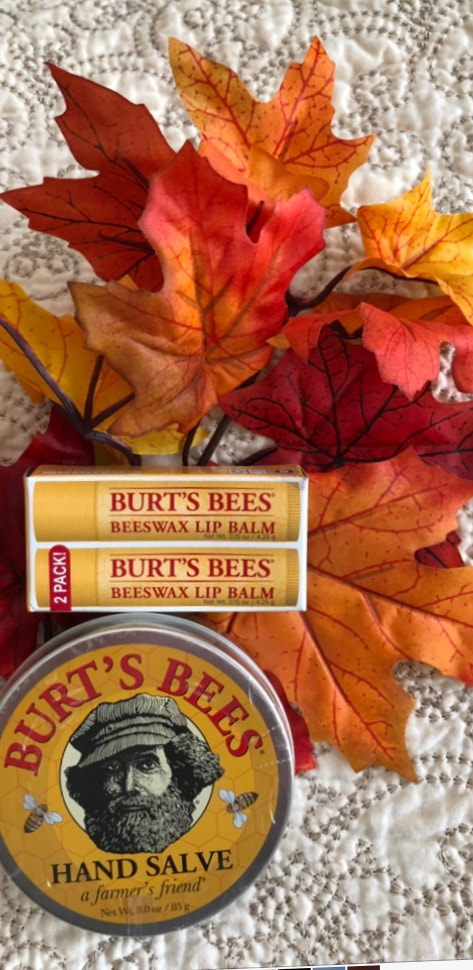
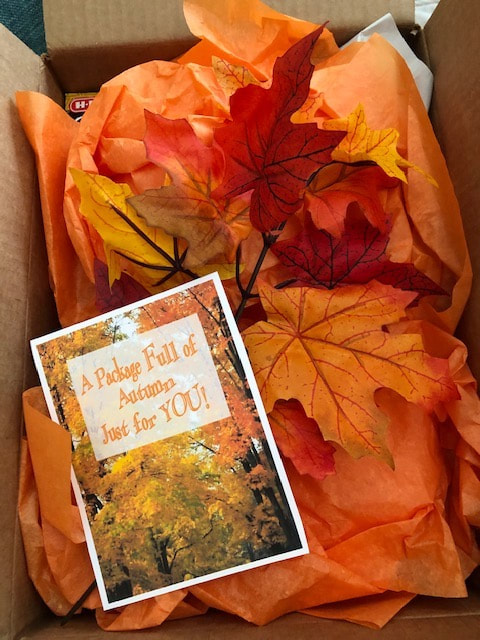
Share your autumn bliss with a friend or loved one! I saw a meme the other day that said something like. . . the Amazon delivery truck, the adult version of the ice cream man. Isn't that the truth! Who doesn't like to get a package in the mail? And even more fun when you're not expecting it. Just a "care" package from a friend full of sweet surprises. I've done a blog about sending Halloween treats to a young grandchild who lives in another city. How fun for a young one to get a package of Halloween treats from their grandparents. But who says you have to be a youngster to get something from grandmother? Do you have a grandchild away at college? Send them a care package! Do you have a niece or nephew in town? How about delivering them some pumpkin bread? I love this season, and it puts me in the mood to share the joy! I was looking for a new project, and decided I would send a package of autumn treats to a family member who loves this season as much as I do. So I was off to the store to see what I could find in the way of seasonal delights. I started at the craft store to find any seasonal decor she might like for her home or classroom. Next stop was the drugstore to find some personal items that she might enjoy. Lastly it was off to the grocery store to find seasonal teas, coffees and candies she might like. And that's it--an autumn-themed care package for a friend or family member. Make someone's day! I named my blog "Gigi's Seasonings" so season a grandchild or friend with some love. It's fun! Previous blog about fall care packages if you need other ideas:
www.gigisseasonings.com/blog/not-a-care-packagea-scare-package More art and craft ideas coming at you for the fall season! As I've said many times in this blog, I love sitting down with my grandkids to create some art or make some craft. It's always a time of laughs, bonding and sharing a fun time. I don't know about you, but for me art class in elementary was such a great, stress-free time. I loved Miss Pyatt, and I loved being able to quietly talk to my friends and enjoy a time of creating. So I checked on Pinterest and found some Halloween crafts that I think my grandson will enjoy, and then have some Halloween decor for his new home. Here we go!
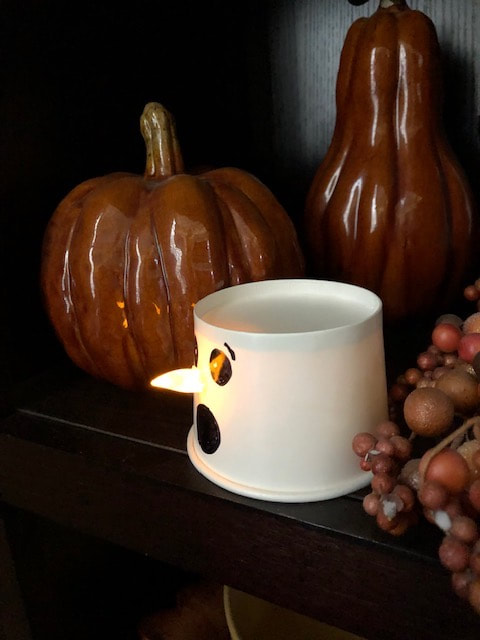
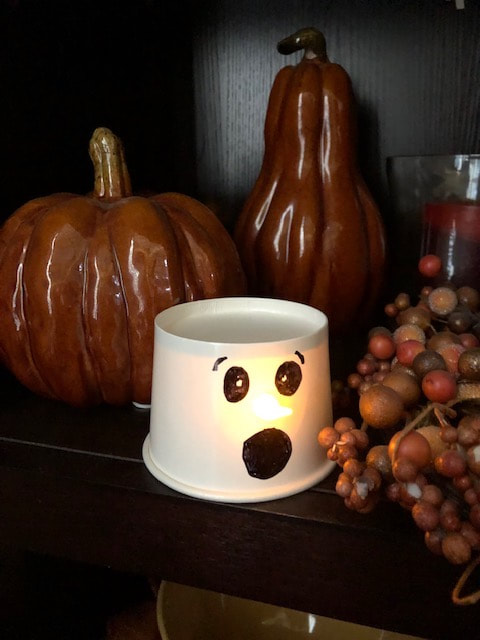
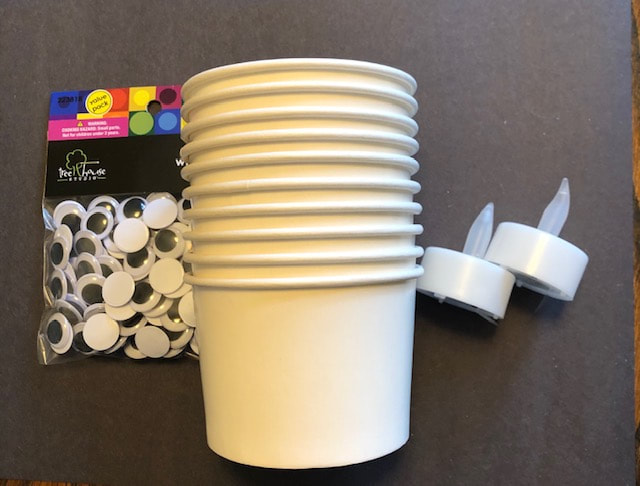
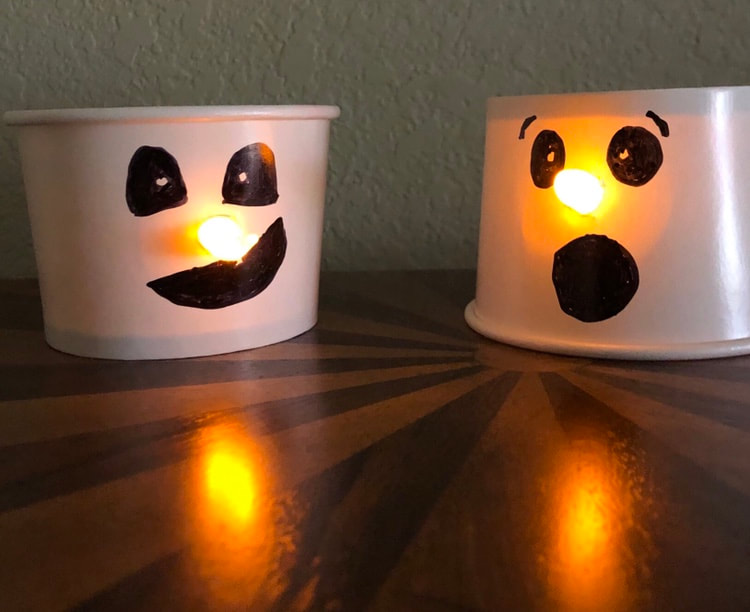
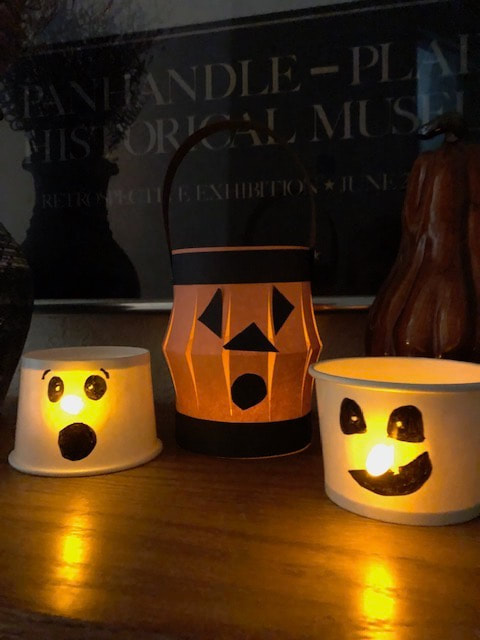
As you can see, this is a super easy project, but I think the small lanterns are so cute. I actually just drew the eyes and mouth on, but if that's too hard for my five-year-old grandson to deal with (since it's drawing on the rounded surface of the cup), I plan to just cut out the eyes and mouth for him to glue on. I bought the white paper cups and LED tea lights at a craft store. The cups were called snack cups/bowls and they seemed to be a good size. You simple poke a hole where the nose should go and push the tea light through that. On to the NEXT idea--remember paper chains? Usually we made them in elementary classes at Christmas time. These are super cute for this autumn holiday with various images providing a Halloween motif to the chain.
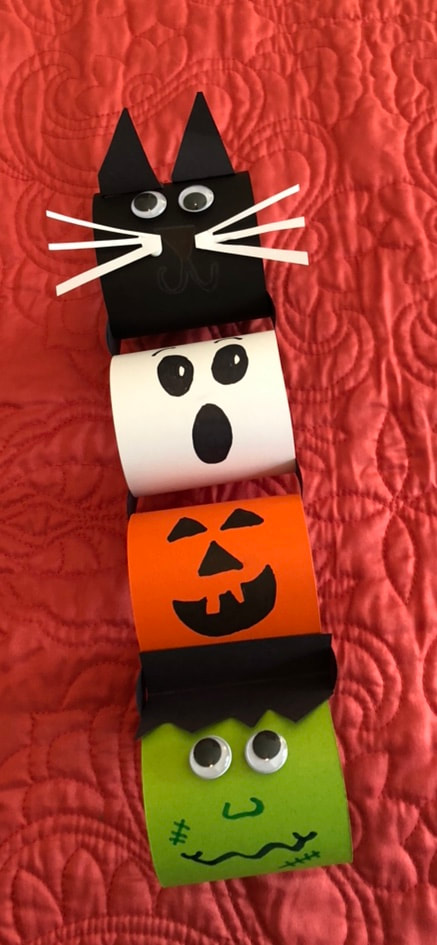
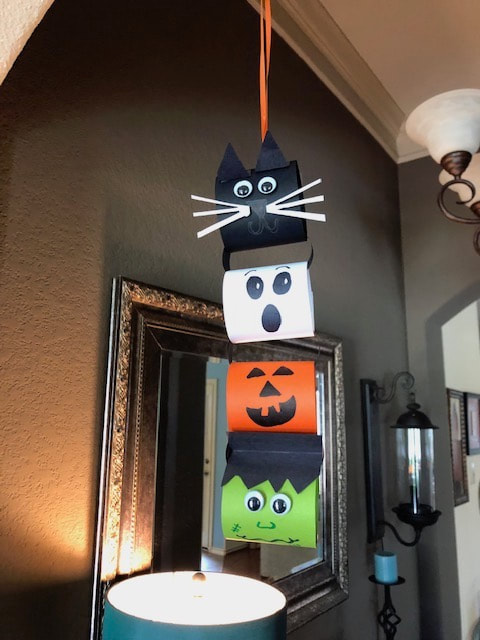
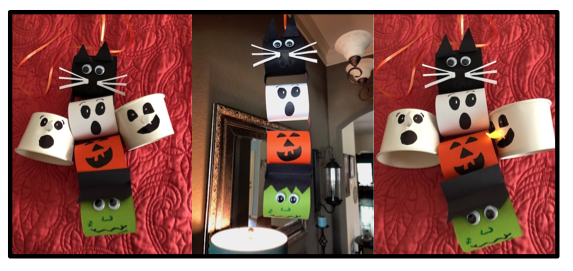
Supplies included green, orange, white, and black construction paper. I also bought some wiggle-eyes at the craft store. I opted to staple each link in the chain; and I used markers for other details besides using the wiggle-eyes. My images included a black cat, a ghost, a jack-o'lantern, and Frankenstein's monster. Again, when we finish this project, my grandson will be able to take them home and use to decorate his room or their entry hall. Just a simple craft, but I think they are delightful. I'll provide the links to the websites where I got these ideas, as well as my blog from last Halloween with the instructions for the Halloween Chinese paper lanterns. Enjoy this time with your kids, grandkids, nieces and nephews and perhaps even the neighborhood kids. It's a fun Halloween craft! Chinese paper lanterns from last year's blog: www.gigisseasonings.com/blog/more-halloween-fun-with-the-grands Halloween paper chain: members.easypeasyandfun.com/downloads/halloween-paper-chain-template/?utm_medium=social&utm_source=pinterest&utm_campaign=tailwind_smartloop&utm_content=smartloop&utm_term=4094154 A parting thought~
"Nobody can do for little children what grandparents do. Grandparents sort of sprinkle stardust over the lives of little children." Alex Haley |
AuthorRetired school teacher and now full time grandmother sharing ideas and looking for new ones about grandparenting! Archives
December 2023
Categories
All
|







 RSS Feed